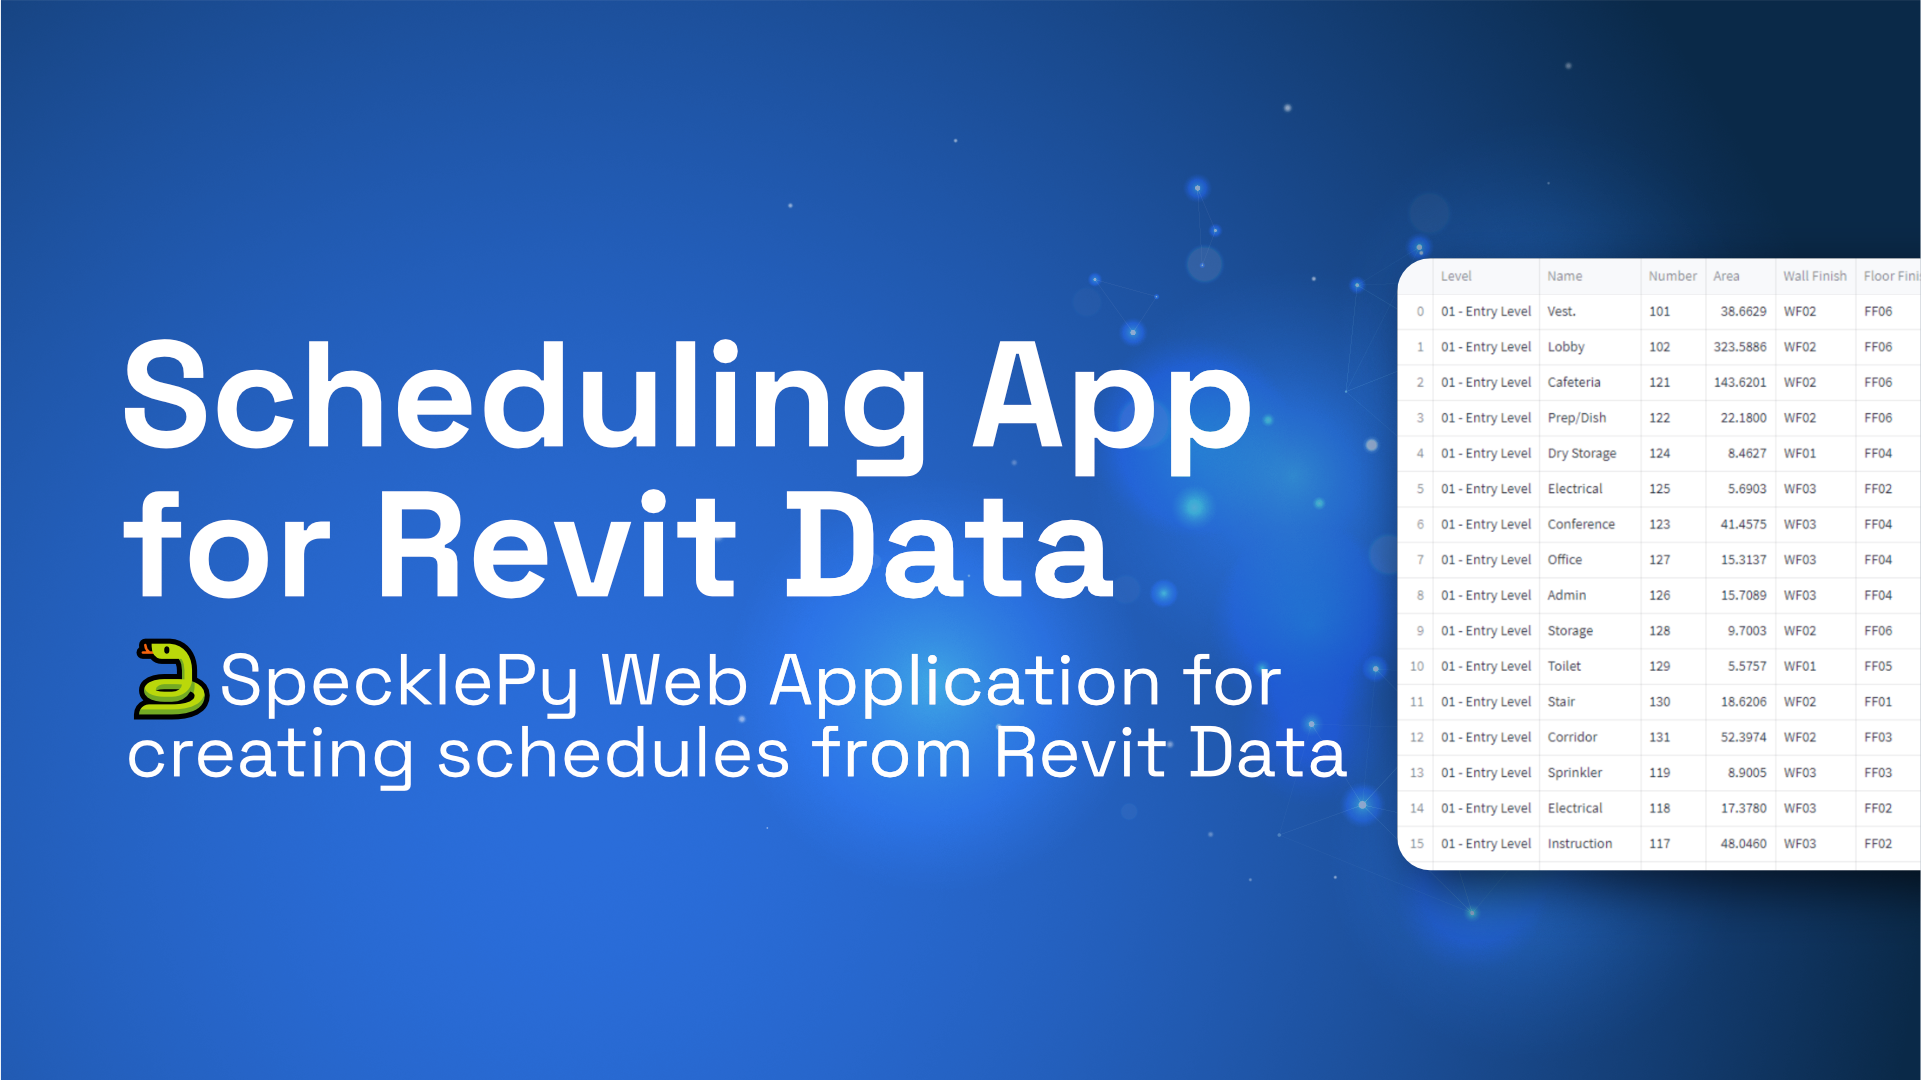

In this tutorial, you are going to assemble a quick web application that will display Revit data (sent via Speckle) in a table format using nothing but Python 🐍. You will learn quite a few things:
- how to connect to Speckle server
- how to receive Revit data and properties
- how to analyze and filter received data
It will be a great exercise to understand the basics of interacting with the Speckle server and Speckle data structure. Let's go 🚀!
Check out the code here👇
 bimgeek
Prefer watching than reading? Take a look at this playlist👇


Requirements
Since we are going to use Python and deal with Speckle server, knowledge about both is assumed. But don’t worry, you don’t have to be an expert in Python, just being comfortable using it will let you get started.
To follow this tutorial you'll need the following libraries:
- Streamlit👑
- SpecklePy🔹
- Pandas🐼
Installing Libraries
Make sure you have pip installed on your computer. Pip is the package installer for Python🐍. Once you have pip, you can go ahead and install libraries.
Streamlit👑
Streamlit is an amazing tool that makes it extremely easy to build an interactive front-end. It is specially made with data science projects in mind and thus has a lot of useful functionality to show off your projects.
This is how you install it👇:
pip install streamlit
SpecklePy🔹
SpecklePy is a Python library that allows us to interact with Speckle server, receive streams and commits from the server. SpecklePy repo can be found here👈
This is how you install it👇:
pip install specklepy
Pandas🐼
Pandas is an open-source library that is made mainly for working with relational or labeled data both easily and intuitively. It provides various data structures and operations for manipulating numerical data and time series.
We are going to use it mainly for converting Speckle objects to Pandas’ DataFrames.
This is how you install it👇:
pip install pandas
Coding Begins👨💻
After you are done installing libraries, create a folder where you will have everything for your front-end in. Inside that folder, create a python file called main.py.
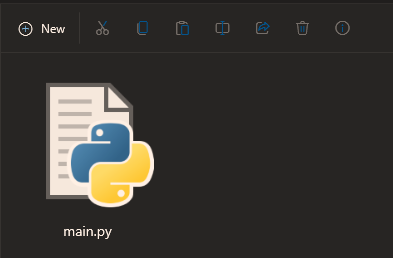
Open it in your choice of Python IDE. I’ll be using Visual Studio Code in this tutorial.
Importing Libraries
Now it’s time to code! Open your main.py file and lets import libraries.
# LIBRARIES
# Streamlit👑
import streamlit as st

# Pandas🐼
import pandas as pd

# Specklepy🐍
# The `StreamWrapper` gives you some handy helpers to deal with urls
# and get authenticated clients and transports.
from specklepy.api.wrapper import StreamWrapper
# The `SpeckleClient` is your entry point for interacting with your Speckle Server's GraphQL API.
# To authenticate the client, you'll need to have downloaded the [Speckle Manager](<https://speckle.guide/#speckle-manager>)
# and added your account.
from specklepy.api.client import SpeckleClient
# Receives an object from a transport given its obj id.
from specklepy.api import operations
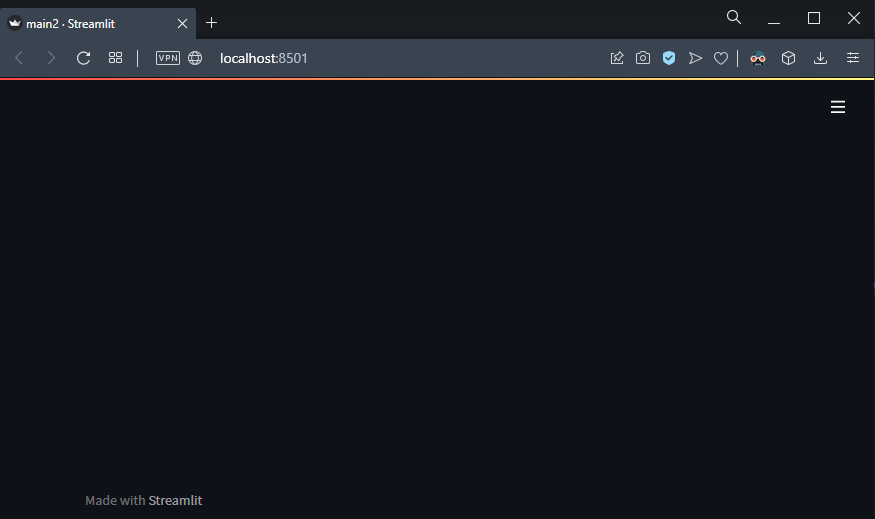
At this point you want to see what the app looks like. So open up a terminal window and make sure to navigate to the folder where you have my main.py file. Then run:
streamlit run main.py
The browser window will automatically pop up and here is what you’ll see:
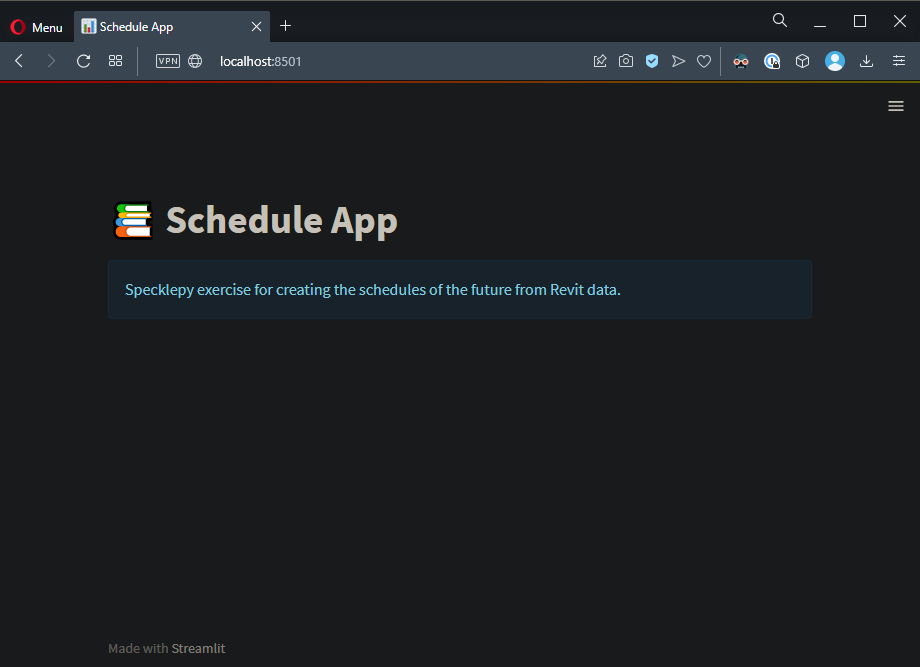
Lets start with setting the page title and page icon.
#PAGE CONFIG
st.set_page_config(
    page_title="Schedule App",
    page_icon="📚"
)
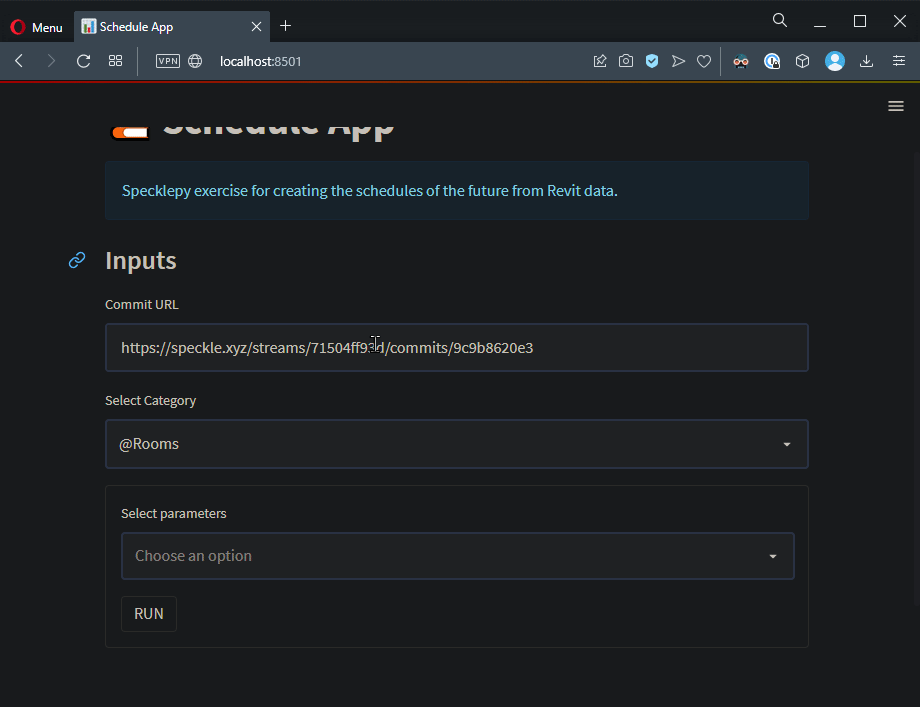
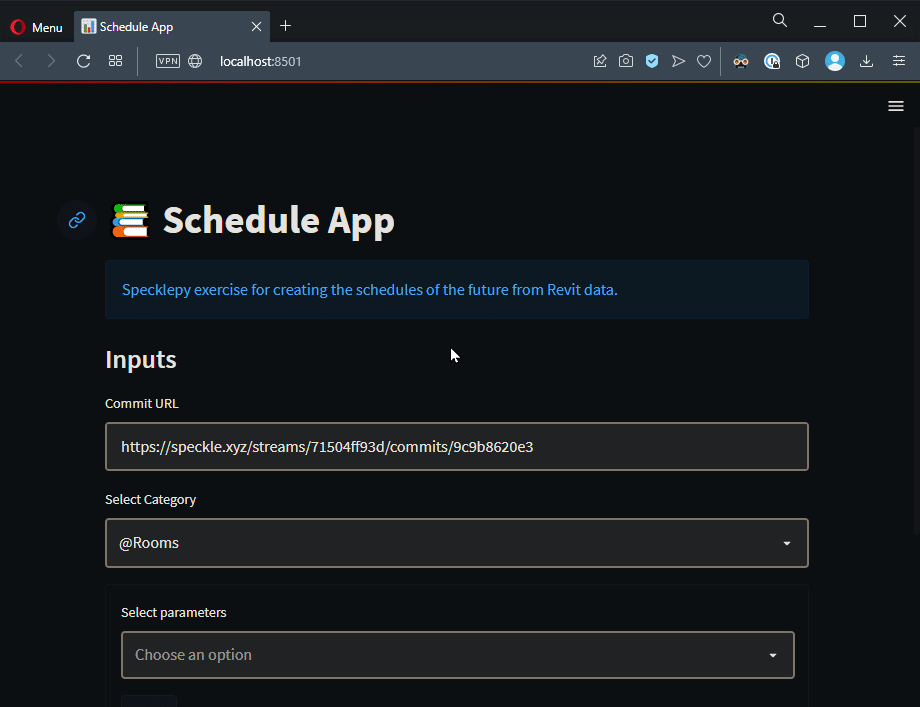
After we set it, this is how it looks like👇:


Structure of the App
Basically, this app consists of 3 sections:
- Header - This is where the page title and description will be.
- Inputs - User inputs (Commit URL, category and parameter selections) will be in this container.
- Data - Data will be populated in this section according to users’ inputs.
Creating containers that’ll store the info will be the first step. We have 3 sections, for each section I’ll create a container using st.container().
# CONTAINERS📦
header = st.container()
input = st.container()
data = st.container()
Header
To create code that belong to a certain container, we have to use with divider. I’ll set my page title using title method and use an info component to add the description.
# HEADER
with header:
    st.title("📚 Schedule App")
    st.info(
        "Specklepy exercise for creating the schedules of the future from Revit data."
    )
After this you may want to see what app looks like. So let’s use streamlit run [main.py](<http://main.py>) again. This is how it looks like👇:
That is a great start! Actually, most of what we are going to do is as simple as this👏.
Inputs
This is the most important part because we are going to start dealing with Speckle data. We will create 3 inputs:
- Commit URL
- Category Dropdown
- Parameter Selection
Commit URL
Lets start by referencing the input container and creating the text input area.
# INPUTS
with input:
    st.subheader("Inputs")
    commit_url = st.text_input(
        "Commit URL",
        "<https://speckle.xyz/streams/71504ff93d/commits/9c9b8620e3>",
    )
Interacting with Speckle Server
Once we have Commit URL, we can start interacting with the server. Let’s take a look at how to use this URL to get an authenticated client and transport.
# WRAPPER 🌮
# The `StreamWrapper` gives you some handy helpers to deal with urls
# and get authenticated clients and transports.
wrapper = StreamWrapper(commit_url)
# get an authenticated SpeckleClient if you have a local account for the server
client = wrapper.get_client()
# get an authenticated ServerTransport if you have a local account for the server
transport = wrapper.get_transport()
Now that you have an authenticated client, you can start interacting with the API.
# COMMIT 🍀
# gets a commit given a stream and the commit id
commit = client.commit.get(wrapper.stream_id, wrapper.commit_id)
# get obj id from commit
obj_id = commit.referencedObject
# receive objects from commit
commit_data = operations.receive(obj_id, transport)
Category Dropdown
Let’s get Category Names from the commit_data object. Categories are dynamic objects and we’ll use get_dynamic_member_name method to get all the names of the dynamic properties of this object.
with input:
    selected_category = st.selectbox(
        "Select Category", commit_data.get_dynamic_member_names()
    )
Parameter Multi-Select
Let’s start by getting parameters in the selected_category. Parameter objects are also dynamic objects so we’ll use the same method we used in the previous section.
# Parameters
parameters = commit_data[selected_category][0]["parameters"].get_dynamic_member_names()
But this will return parameter objects, so we’ll create a function to get name attribute from parameter objects. Below function will return parameter names from selected_category.
# gets parameter names
def get_parameter_names(commit_data, selected_category):
    parameters = commit_data[selected_category][0][
        "parameters"
    ].get_dynamic_memer_names()
    parameter_names = []
    for parameter in parameters:
        parameter_names.append(
            commit_data[selected_category][0]["parameters"][parameter]["name"]
        )
    parameter_names = sorted(parameter_names)
    return parameter_names
Now we have the function, lets create the input. I will put the multi_select in a form to prevent it from rerunning the script whenever a new parameter selected.
# parameter selection input
with input:
    form = st.form("parameter_input")
    with form:
        selected_parameters = st.multiselect(
            "Select Parameters", get_parameter_names(commit_data, selected_category)
        )
        run_button = st.form_submit_button("RUN")
With this, we are done with inputs. Let’s take a look at how the app looks like.
Not bad, huh? Let’s continue with the Data!
Data
Schedule Table
Let’s start by getting objects from the selected_category and store it in category_elements variable.
# objects from selected_category
category_elements = commit_data[selected_category]
To create the schedule we need to get the selected parameters from these objects. But now we face another issue, we need to somehow get the parameter[”value”] from parameter[”name”]. Let’s create a function that does just that:
# get parameter value from parameter name
def get_parameter_by_name(element, parameter_name, dict):
    for parameter in parameters:
        key = element["parameters"][parameter]["name"]
        if key == parameter_name:
            dict[key] = element["parameters"][parameter]["value"]
    return dict
Now we can loop through each object in selected_category, and get their parameter[”value”]s. First let’s create an empty list that will store resulting data.
with data:
    # This will be the output data.
    result_data = []
		# run only when run_button is clicked.
    if run_button:
        for element in category_elements:
            dict = {}
            for s_param in selected_parameters:
                get_parameter_by_name(element, s_param, dict)
            result_data.append(dict)
Great🎉! result_data now contains the data we want to show. Let’s convert it into a Pandas DataFrame and show it in a Table. We’ll use st.dataframe method for that.
				# resulting data to DataFrame
        result_DF = pd.DataFrame.from_dict(result_data)
				# SHOW DATA
        st.dataframe(result_DF)
Download CSV Button
Let’s add the download button. First convert DataFrame to a CSV. Then using the st.download_button component, set the file as result_CSV and set the file name as commit_id.
				# Dataframe to CSV
        result_CSV = result_DF.to_csv().encode("utf-8")
				# Download button
				st.download_button(
				            "Download CSV 🔽",
				            result_CSV,
				            f"{wrapper.commit_id}.csv",
				            mime="text/csv",
				        )
There you go! You have created your scheduling app for Revit data. Play with it and think about how you can expand the features or add more bells and whistles to it.
Conclusion
Congratulations on completing the project and I hope you enjoyed this tutorial.
Speckle is an Open Source project and we really ❤️ feedback, so if you have any questions, comments, critiques, or praises please let us know on our community forum.
Happy Speckling💙!