
If you got to this page, you're probably already aware that you can send BREP geometry to Speckle, and receive it in Revit in a native format. What you may not know is that you can control that process to your advantage, allowing you to also attach extra information as native Revit parameters.
::: tip Prerequisites
To follow along with this tutorial, you will need to register with Speckle and install the required connectors 🔌. It takes less than 3 minutes!
For a comprehensive overview of the Grasshopper and Revit connectors, check our docs 📚!
:::
In this tutorial we'll be learning the differences between sending geometry to Revit, as a DirectShape or a FreeformElement, using Speckle. Hopefully, by the end, you'll be able to choose the best one for each situation, and understand how Speckle deals with both in the background.
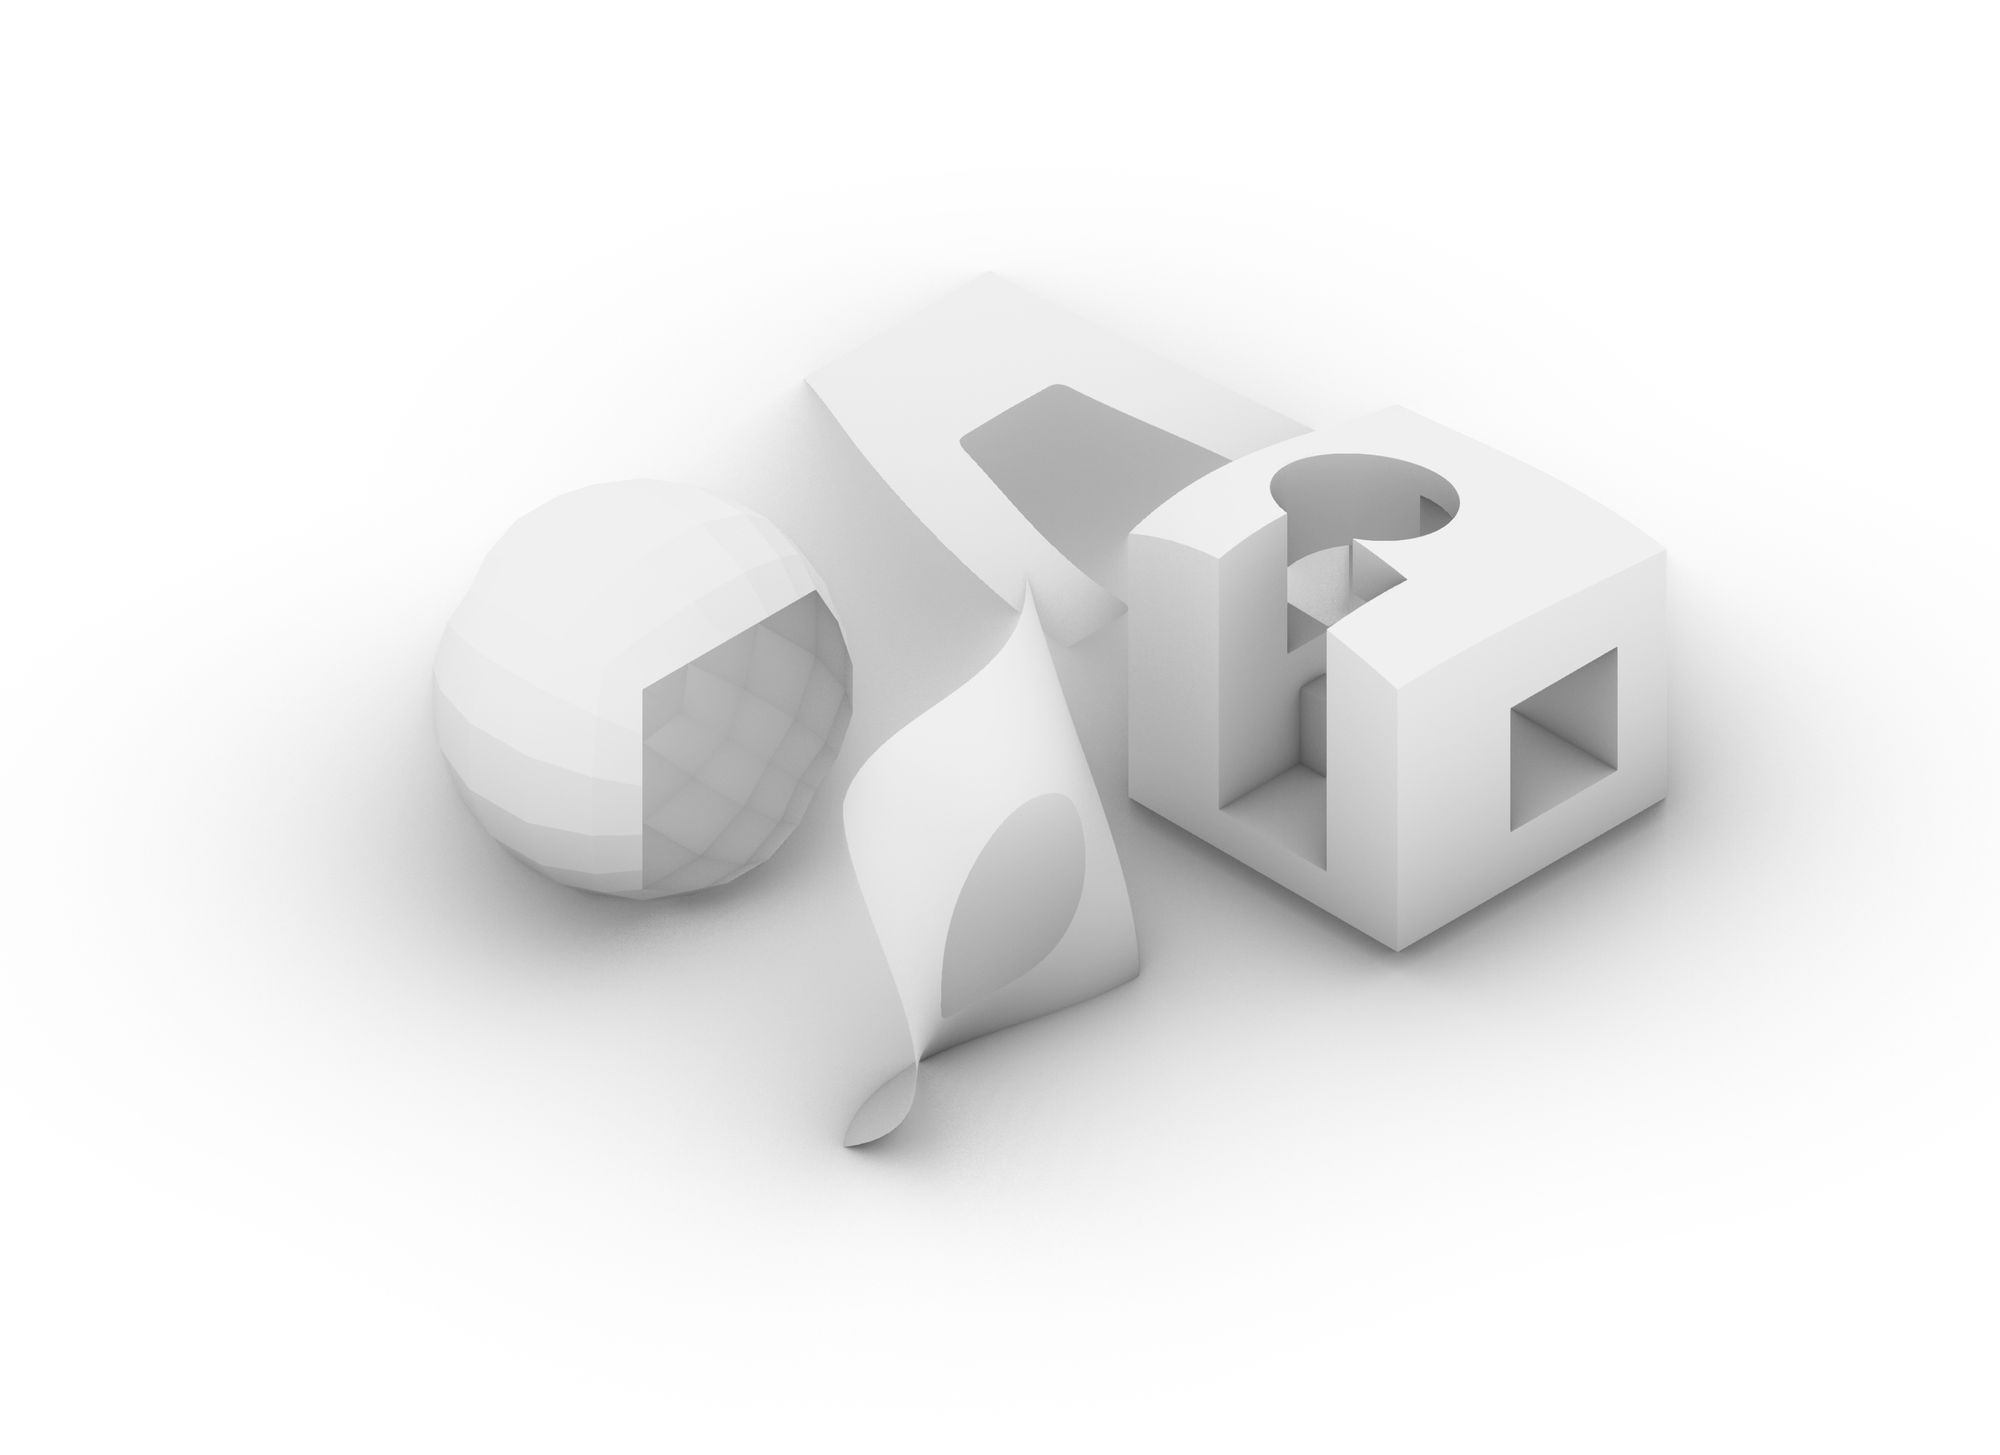
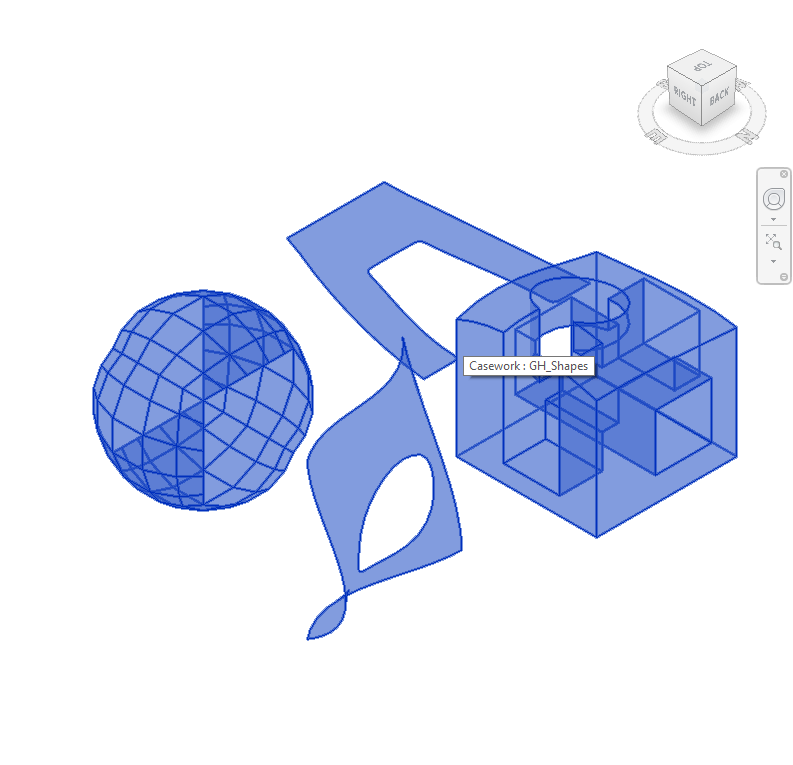
To keep things simple, we'll be sending a bunch of funky shapes (as BREPs) generated in Grasshopper.
::: tip Speckle 2 BIM
This tutorial uses part of the Speckle BIM components in Grasshopper, designed specifically to communicate BIM data from GH to Revit (and others in the future), so that it would be received in a native format.
You can learn more about them on our documentation page.
:::
We'll be receiving the same geometry in 3 different ways:
Default behaviour
By default, any geometric object that is received in Revit will be wrapped in a Revit DirectShape. This would be categorised as a Generic Model and will not have any parameters set (other than the default ones).
Grasshopper
In Grasshopper, you can just connect to the Send component any geometries you want to share, like so 👇
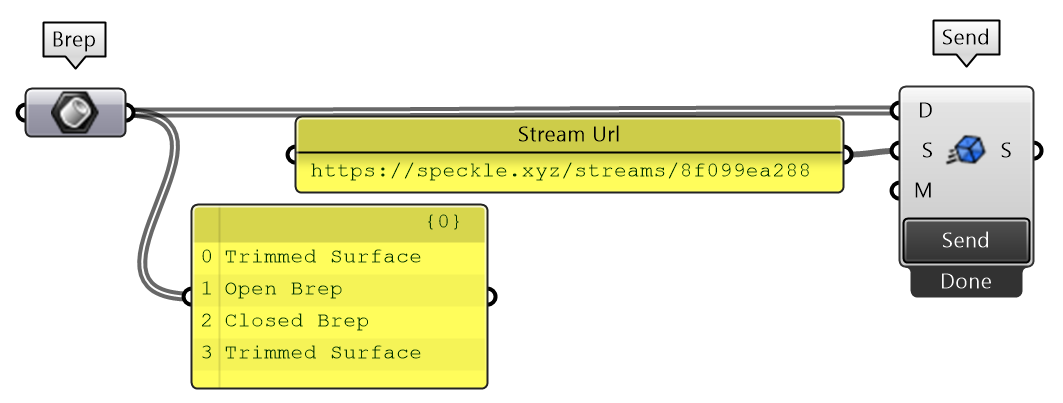
And this would be the result in the Speckle server after sending:
Revit
When receiving these geometries in Revit, one DirectShape element will be automatically created for each geometry you sent.
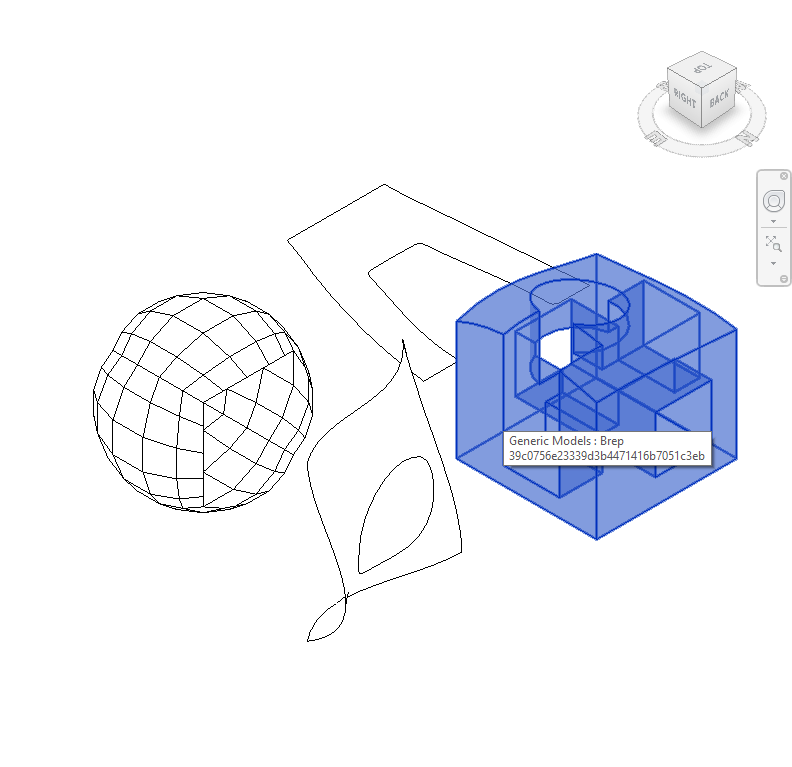
This may be the desired result most of the time (1 mesh/BREP -> 1 direct shape), but these resulting DirectShapes all have the same category (Generic Model), and a name corresponding to their geometry type and their speckle object ID
Let's look at how to gain more control over this process in the next section.
Sending as DirectShape
Sending a single geometric object as a Generic Model is fine for small projects, but usually you'd also want to be able to control the categorisation of those geometries in Revit, add extra information as parameters, or maybe even send a group of objects as a single DirectShape.
For that, you can use the DirectShape component in Grasshopper
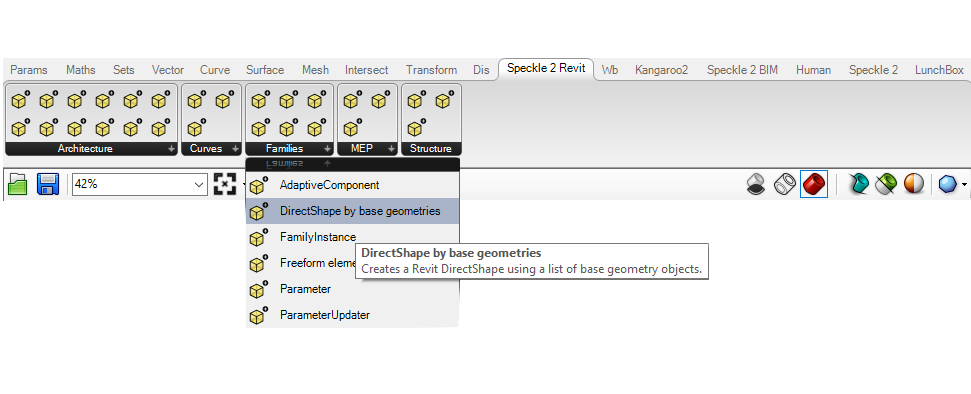
Setting the category
This component allows you to specify the specific category of each DirectShape. When you first create a DirectShape node, it will already appear with a dropdown list of all the available categories.
Select any category from the dropdown to assign it to all the DirectShape's being created by that node, or input a DataTree of categories to assign categories to specific objects. You'll also need to specify a name for the element you're creating.
Notice that the baseGeometries input accepts a list of items. To send each geometry as an individual DirectShape, just graft your baseGeometries input.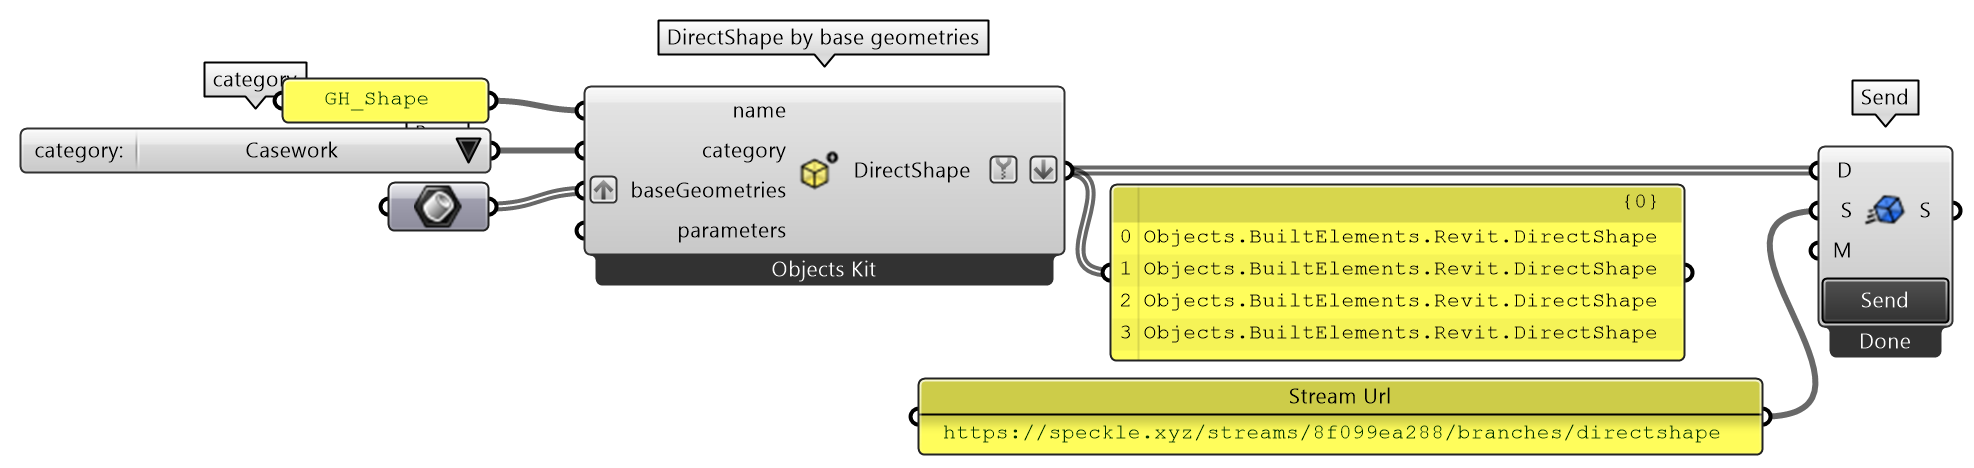
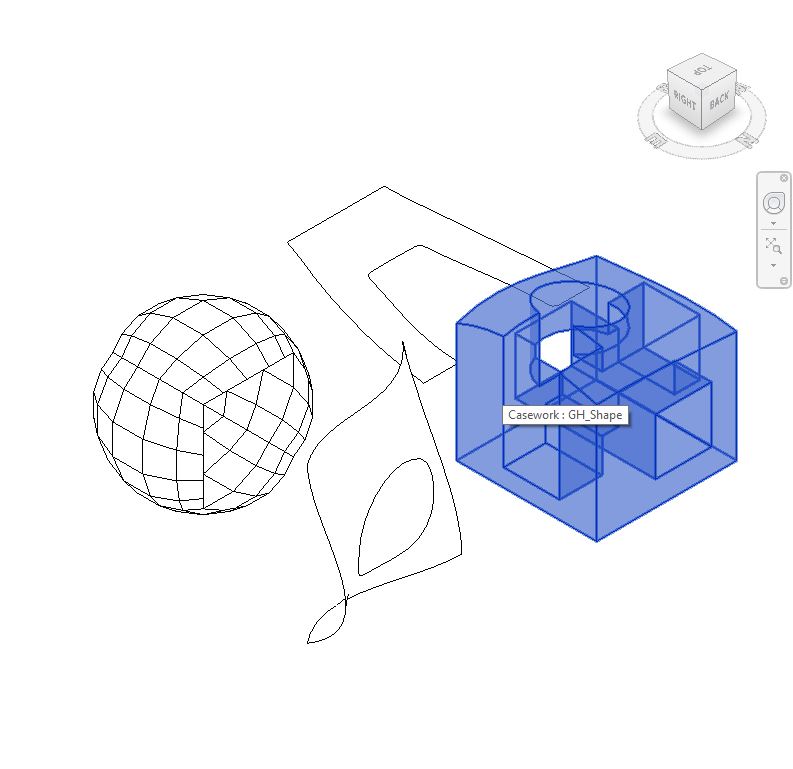
Receiving these DirectShape's in Revit will properly assign the name and category to each of the elements. You should be able to individually pick the items to view their properties.
Creating one DirectShape from a group of objects
Direct shapes can contain a single item (like, a sphere or a NURBS surface) or a list of items.
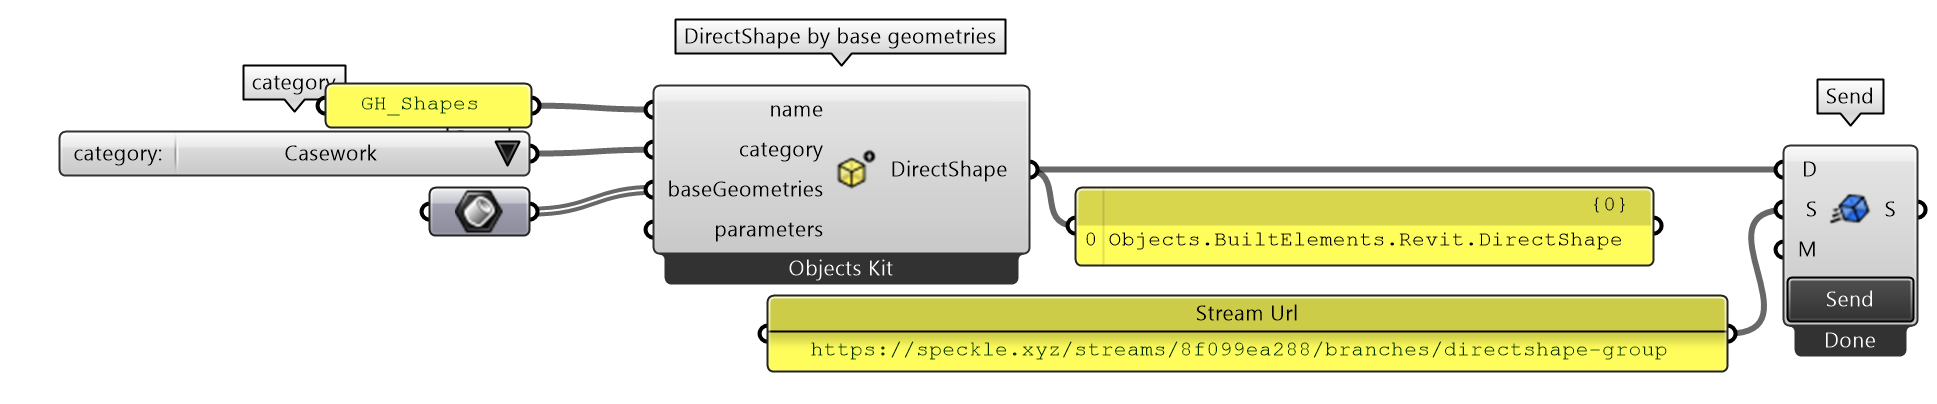
When a DirectShape is received in Revit, all the items in the list will behave as a single entity. Notice the name and category will also be set accordingly.
Sending as FreeForm element
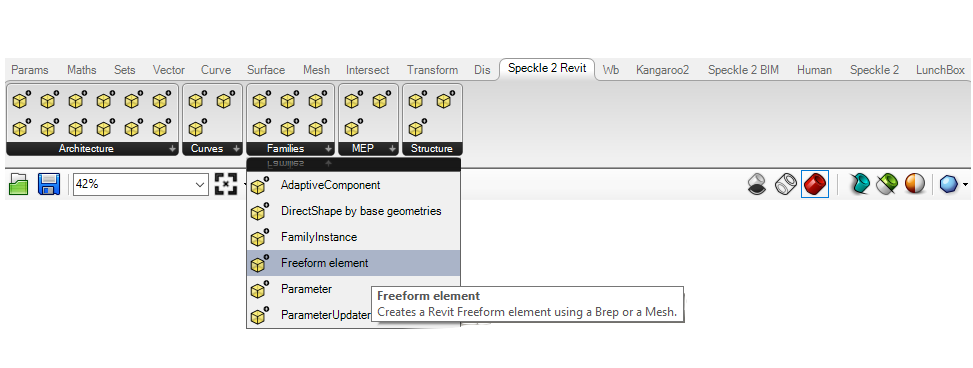
The other Revit-specific way of sending 3D geometry is using the FreeformElement node.
The process of creating a Freeform Element is quite similar to the DirectShape. There's a specific FreeForm Element node on the Speckle 2 Revit tab for this purpose.
The only difference between both nodes (in the Grasshopper side) is that you cannot "group" lists of items into a single Freeform element. Each input geometry will become its own Freeform Element.

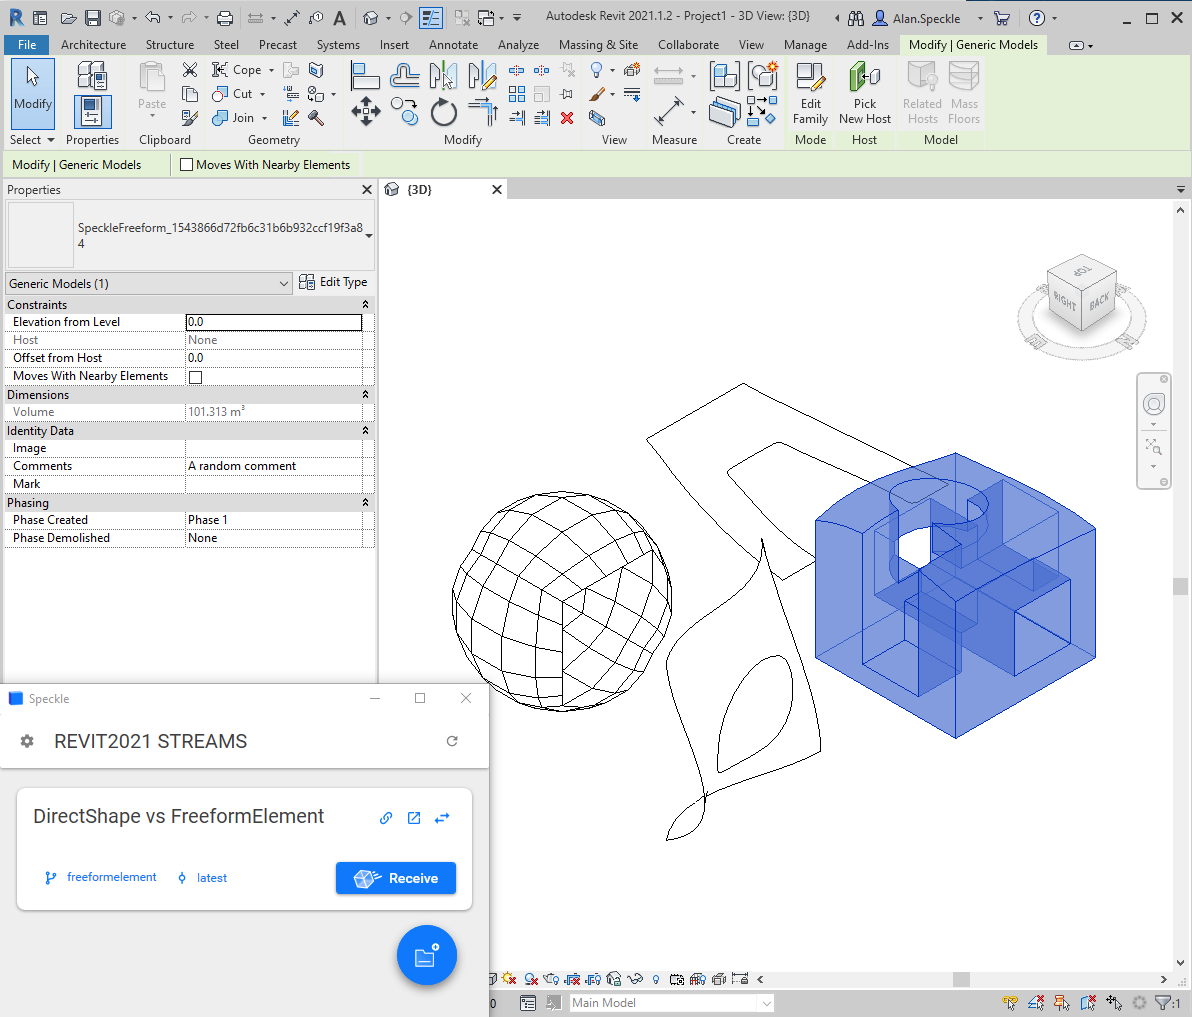
Receiving a FreeformElement in Revit is quite different than a DirectShape. A Freeform Element will be contained inside its own family, which will be named "SpeckleFreeform_{OBJECT_ID}".
Since it is an independent Revit family, you'll have greater control over its appearance, properties and other BIM aspects in Revit; compared to receiving DirectShapes.
Wrapping it up!
So, why would you pick one over the other? 🤔
The reality is that it can be difficult to decide. But here are the main key-points:
| DirectShape | Freeform Elements |
|---|---|
| 🏷 Can be categorised an named | Autogenerated family name |
| ❌ Cannot be edited after creation | ✔️ Can be edited after creation |
| 🚀 Fast conversion from Speckle | ⏳ Slower conversion from Speckle |
| ❌ Materials cannot be applied | ✔️ Easily apply materials to family |
Conclusion
We hope you enjoyed this tutorial and found it useful!
Speckle is an Open Source project and we really ❤️ feedback, so if you have any questions, comments, critiques, or praises please let us know on our community forum.