
Whether you are a pro or just a beginner in GIS, it should be easy to follow the below steps and get your custom jewellery design. The resulted model can be used for 3d-printing, or the contours can be extracted for laser-cutting. You can also use QGIS connector for the same purpose, the steps are nearly identical.
::: tip Perquisites
You will need an account with a Speckle Server. Don't have one? It takes less than a minute to register one now!
PS: Don't forget to install the Speckle Connectors for the software used in this tutorial from the Speckle Manager.
Design created based the map of Kyiv from an open dataset.
:::
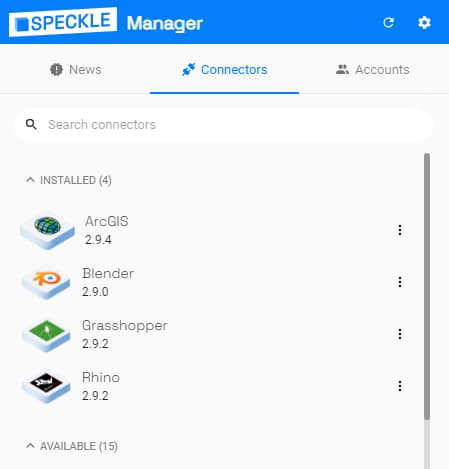
First things first, let's check that our setup is complete. Follow the tips above to register an account on Speckle server and download Speckle Manager. It will help you download and manage connectors for different desktop software. When all above is done, connect your account to Speckle Manager and install all necessary connectors, in our case: ArcGIS and Grasshopper.
ArcGIS side
Open ArcGIS, create a new project and drag the data you need to the Map. In this tutorial we used this open data sample from the city of Kyiv.
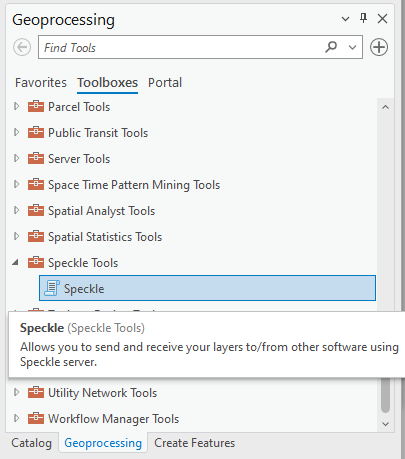
Then go to Geoprocessing tools (View -> Geoprocessing) and double-click to open Speckle tool:
Add streams to your project, either from the list of your streams (in your default profile) or by copying the URL. Click "Add". They should show up in the "Select Stream" section below. You can add as many streams as you need, they will be saved even after you re-open the project.
::: tip Hint
Try Refresh checkbox on the bottom in case the streams are not being added, or if you don't see any Layers in the list. Sometimes plugin UI loads too fast and is not able to fetch the project data.
:::
For the least distorted data representation, as well as for receiving the data later in the center of your CAD canvas, it is advisable to (standard solution) set your Project Spatial Reference to the Projected type (using Meters), or (the best solution) using Speckle option to generate a custom-made Spatial reference best suited to your project location.
Before sending the data, make sure you chose the correct branch (just use the "main" one if you are only using the stream for one model). Then set the checkboxes for all the layers you want to send, and click Run! Congratulations, your data has been successfully sent to Speckle server! You can now receive it in any supported software.
Rhino & Grasshopper side
In order to receive data in Grasshopper, you might use a specific link to specific commit (you can copy URL to your commit from https://speckle.xyz/), or, if your commit is the latest one on the Main branch, just list your streams using Speckle component and use the first stream in the list for receiving. Your account here will be synchronized with the one you set up in Speckle Manager as Default, so you don't need to do any manual inputs.
Once the data is received, you can separate the layers to treat each individually. You would need to Deconstruct Speckle object several times, to get the features inside each layer, the geometry inside each feature, and, in case of GIS Polygons (not a CAD data type) you will need to get the boundary element of the feature with an extra step. DisplayValue of the polygons will be received as Meshes, which we don't need for the current purpose.
You can follow the next steps on your own, or you can download a Grasshopper file to easily reproduce the result or use with your own data. It will combine nearby blocks, offset them and clean failing or irrelevant geometry.
Then, offset the border and smoothen the corners. Finally, cut the blocks area out of the surface and extrude the pattern.
Done! You can easily export the file in STL format suitable for 3d-printing.
Show your creations or let us know what you think on the community forum!