

::: tip Prerequisites
To follow along with this tutorial, you will need to register with Speckle and install the required connectors. It takes less than 3 minutes!
For a comprehensive overview of these connectors, check our docs!
:::
::: warning
There are some known bugs, please use the beta version of 2.3.2 for ETABS and 2.3.2 Revit for now
:::
Getting Started
Before getting started, check that you have a supported version of Revit (2019-2022) and ETABS (v18 or v19) and the Speckle 2.0 connectors installed for Revit and ETABS.
We're also going to assume that you already have access to a Speckle 2.0 server, and you have correctly set up your account for that server in the Speckle Manager.
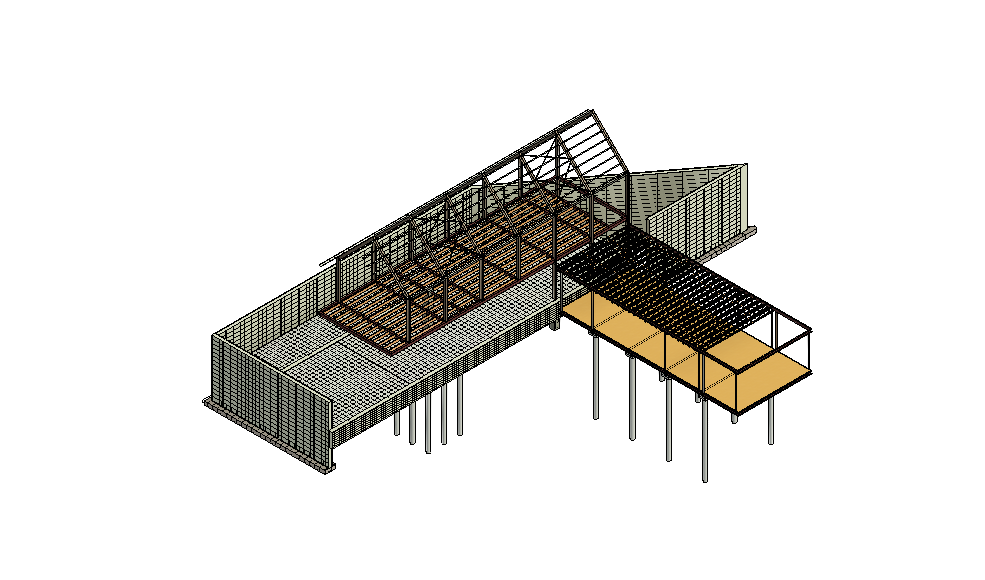
Extracting the Analytical Model from Revit
For this section of the tutorial, we shall use the default Revit Structural Model File that we all know and love. We shall expose the Analytical Model Framing by opening up the viewer and toggling the analytical elements to be shown.

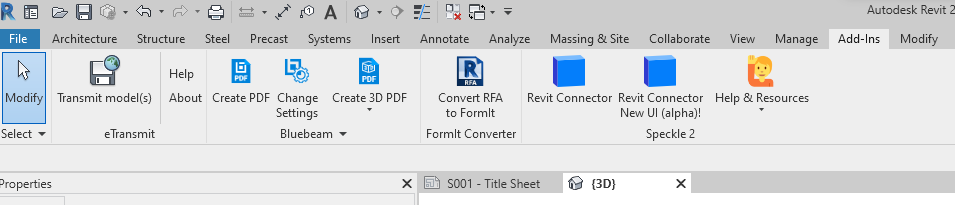
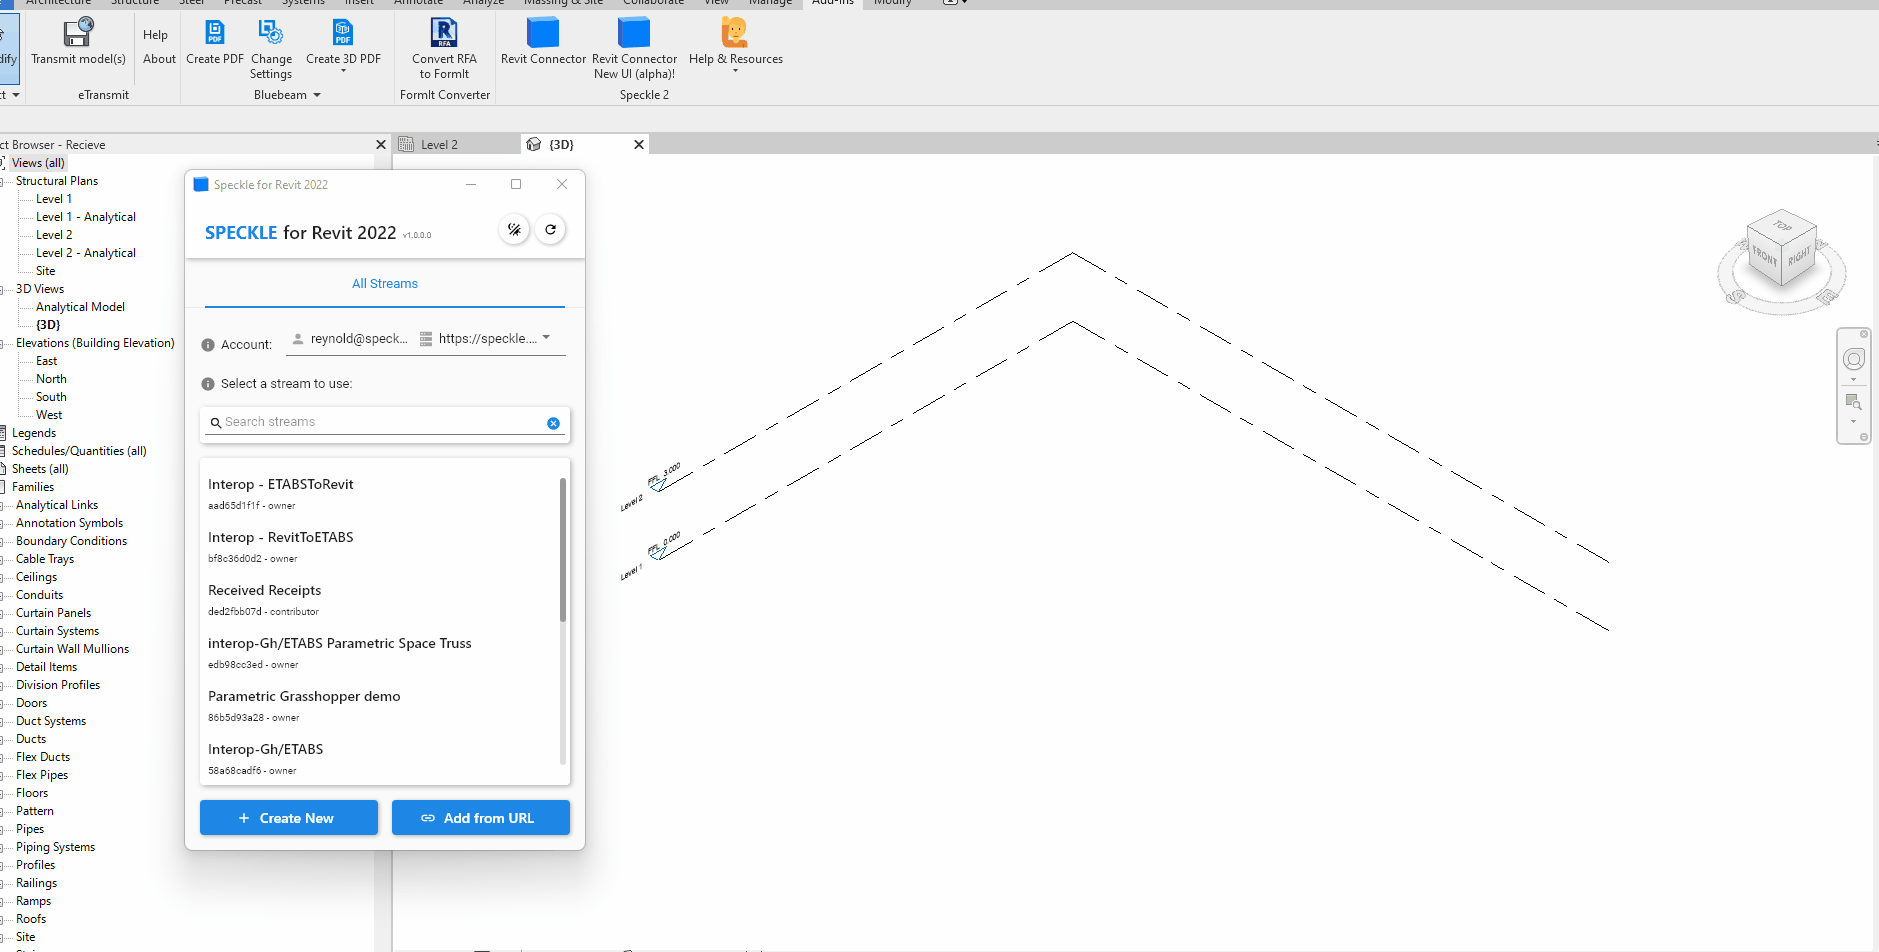
Go to the add-ins and open up Speckle DUI2 to send the elements by using the selection filter.
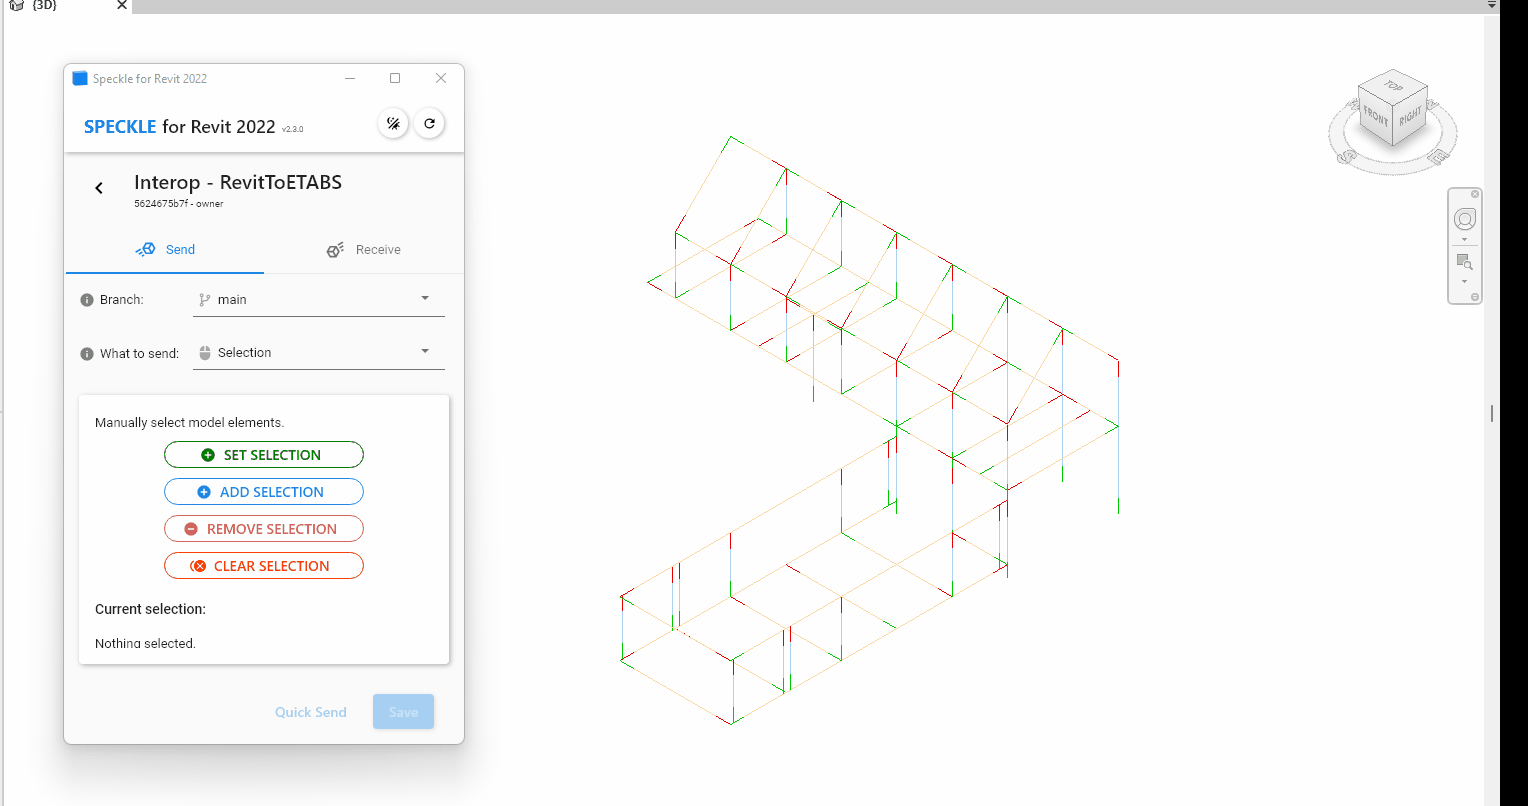
We can see the sent elements in the following stream. Play with it to see the extracted elements.
::: tip Note
You will notice that these elements generated are as speckle_type of objects.structural from our structural kit as opposed to the BuiltElement classes.
:::
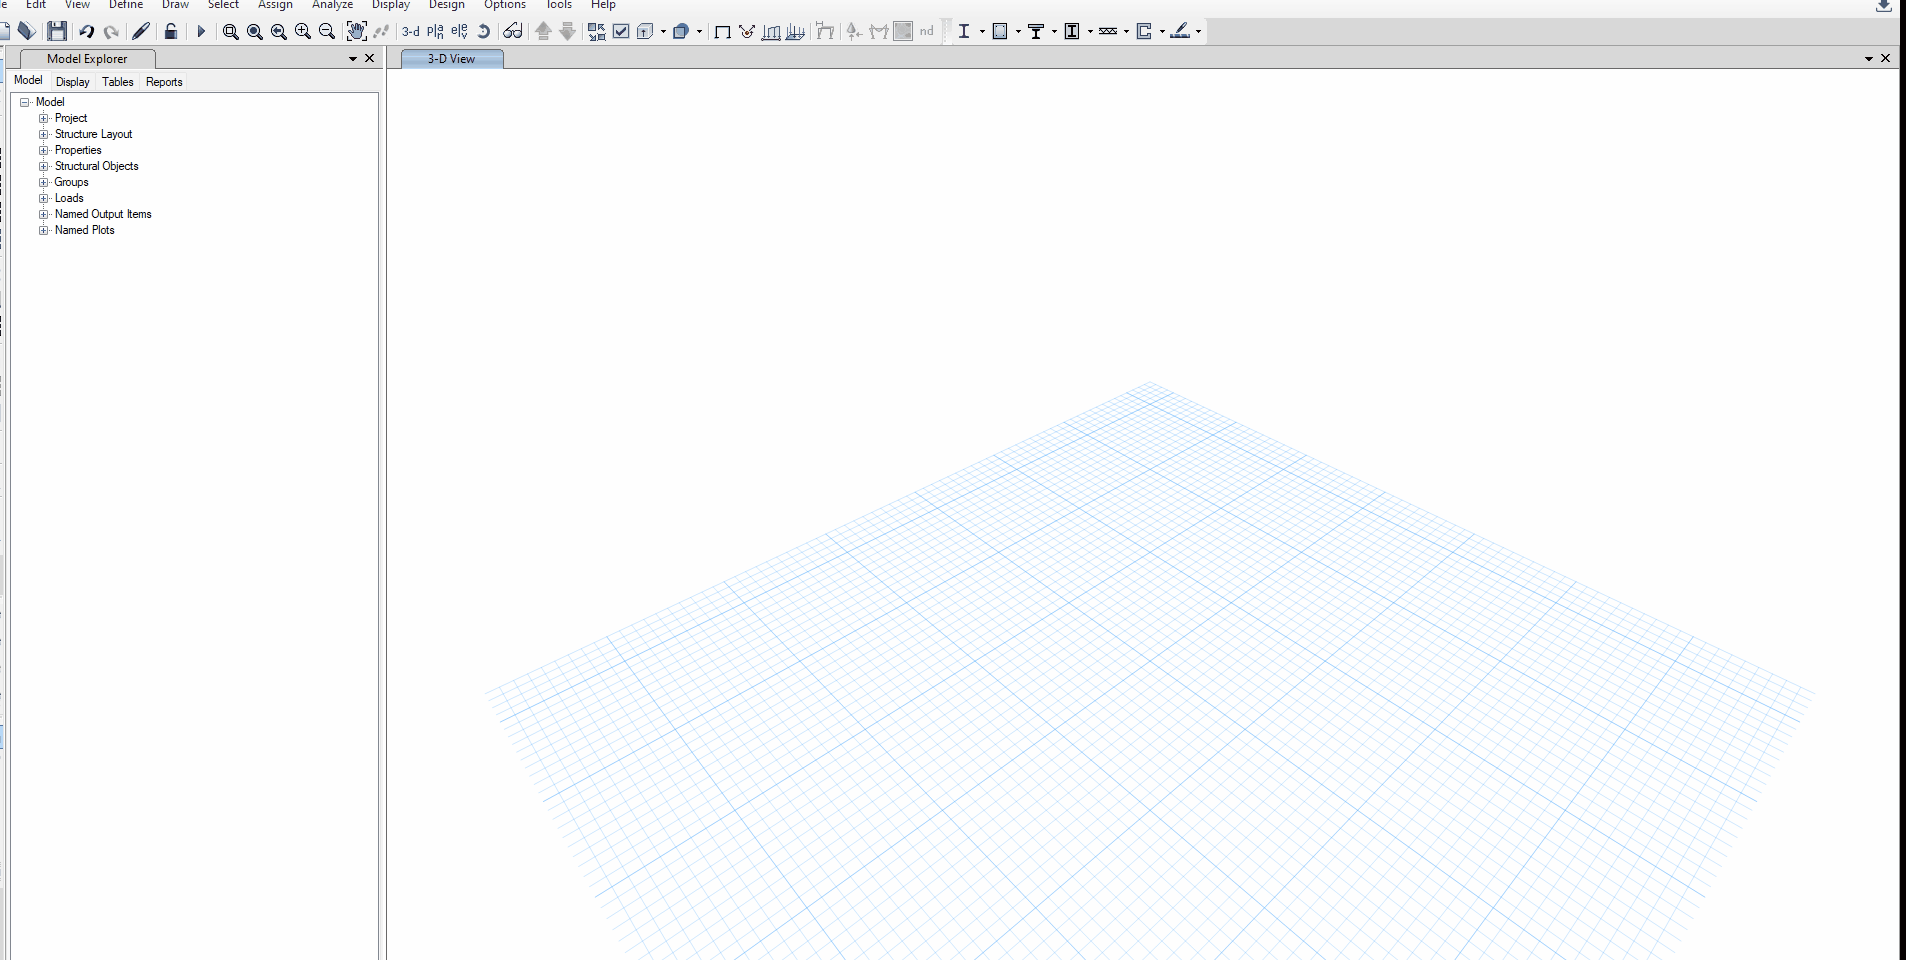
Receiving the data in ETABS
Now that we have the data in the Speckleverse, we can now recieve the data in ETABS.
Now, go to the PlugIn tab, and press the ETABS connector plugin. If the plugin is not loaded properly; add the plugin at the current file location for ETABS18 or 19 respectively: "%LocalAppData%\Computers and Structures\ETABS 18\Speckle2ETABS" The Speckle Desktop UI2 should appear.
::: tip Important
You need to save the ETABS model file first before receiving, otherwise errors will most likely occur.
:::
::: warning
Currently there's some problem with importing section profiles due to unit conversions and limitations with the RevitAPI. However the name is passed so you can change the section profiles as needed in ETABS.
:::
Sending ETABS Project Data
Let's start with the easy part: In order to create ETABS elements using Speckle, we should ideally have some knowledge of the current information available in our ETABS project.
Let's create a new ETABS project using the default steel deck template that is offered in ETABS. You can use your preferred units, and code section. A project will be created with x default levels. The ETABS model labeled" " file in the drive has some default properties and imported sections as well as braced frames.
- Press the create new stream button on the lower-right corner to add a stream to the file.
- You should see the
Streamappear in the streams list in addition to the other streams
::: tip
In our case, we'll call our stream Interop - ETABS/Revit
:::
- Go to the
Categoryfilter type, select the Frame, and Area options. This will send all geometry to Speckle - Press the
Quick Sendbutton to send the data to the stream.

That's it! We've effectively pushed our project information, including all existing geometric properties to Speckle.
This concludes our setup. We'll now switch to Revit to receive it and use it to generate new ETABS elements. Check out the elements in the following embedded viewer. The stream is linked here. Note that I'm using Canadian Steel sections in this example.
Receiving ETABS Project Data in Revit
Now let's open up an empty Revit project with our sections loaded in and the respective families needed. If there is a match that can be found, then it will map the properties to the family. If not it will go with the first default. Click the recieve button for the stream to recieve our newly generated data from ETABS.
::: tip Tip
If you want seamless transfer back to Revit from ETABS, it's best to name your elements in ETABS with the same corresponding family name within Revit if you have custom family.
:::
::: warning
Since Revit generates and need assignments to floor, a known issue is that if you do not have the corresponding loaded floors, Speckle will attempt to generate a floor for that element which may or may not result in unwanted modelling differences.
:::
Known Issues
Speckle ETABS is currently in alpha release. You can find any known issues on our GitHub Repo Issues page.
Conclusion
We hope you enjoyed this tutorial and found it useful!
Speckle is an Open Source project and we really ❤️ feedback, so if you have any questions, comments, critiques, or praises please let us know on our community forum.