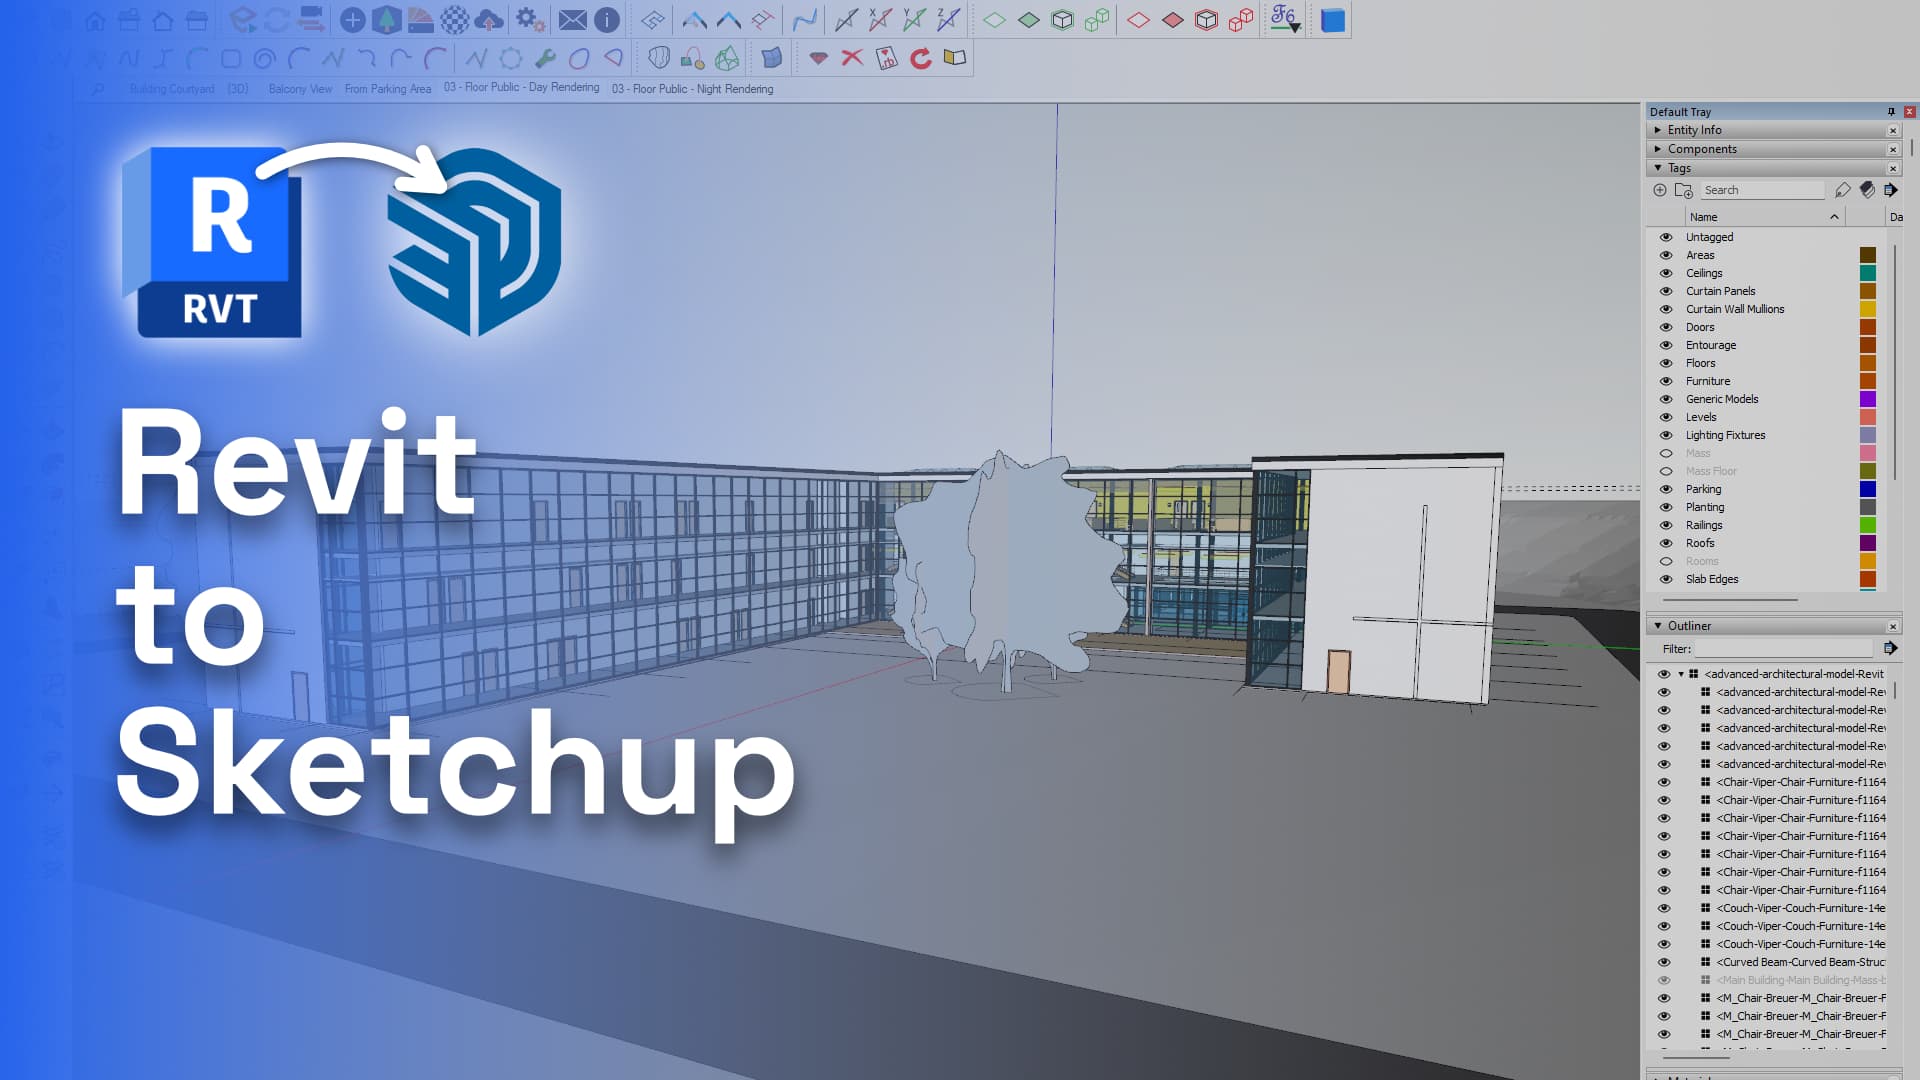

Watch our tutorial video below to learn about our Revit to SketchUp Workflow Support in action:
::: tip
Note: if you have both Revit and SketchUp installed on your computer, you can follow along by yourself. If you only have SketchUp or Revit, grab a colleague that uses the other one and try it out together. Speckle is more fun in multiplayer, anyway!
:::
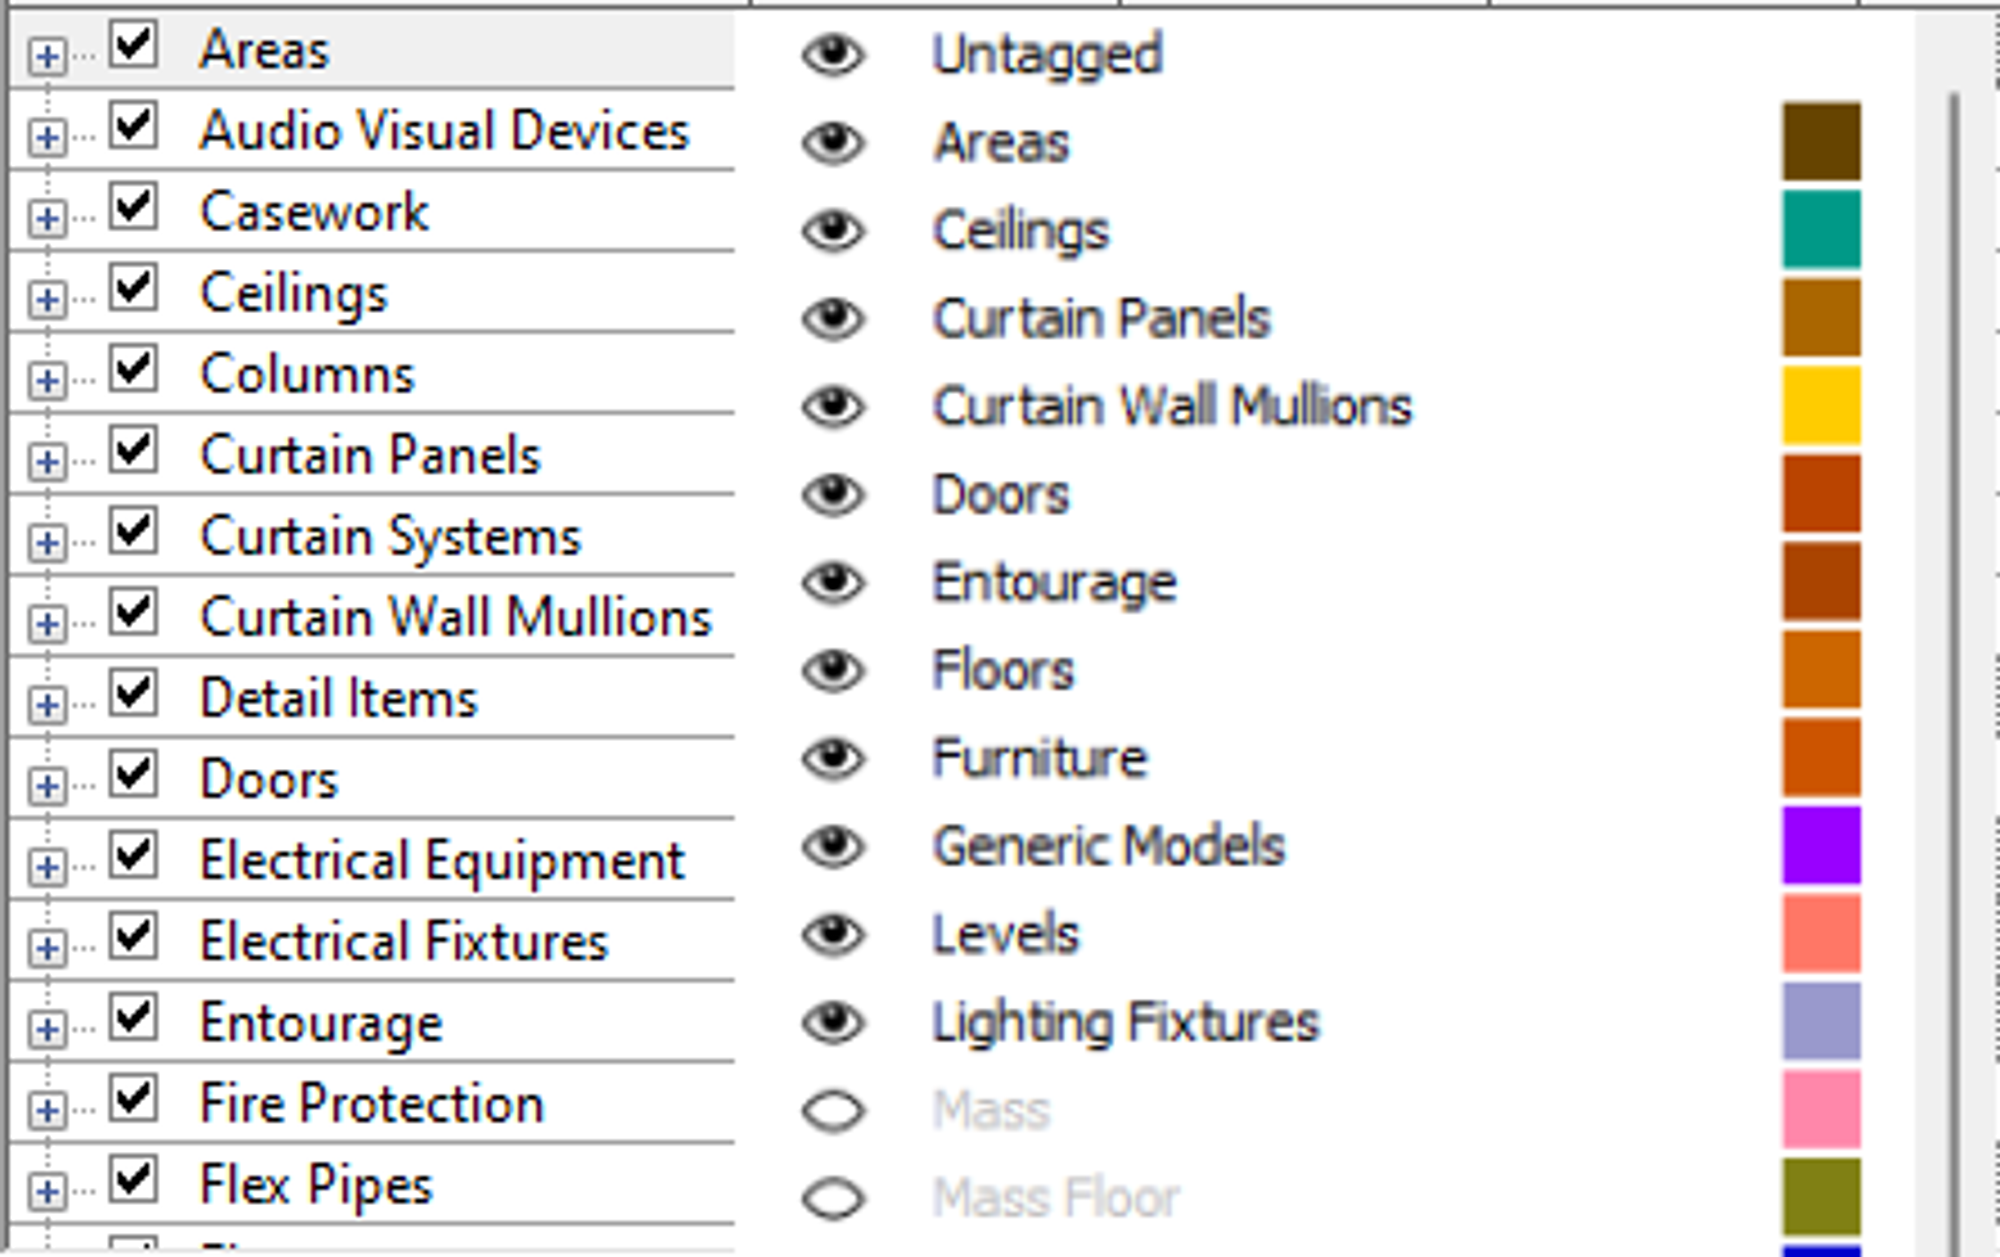
Revit Categories as Tags:
Revit Categories are organised as Tags in SketchUp, making it easy to identify and manipulate different elements of your design.
When receiving models on Speckle, we automatically hide certain categories (i.e. Rooms, Mass, Mass Floor...) so that they don’t get in the way of your designs.
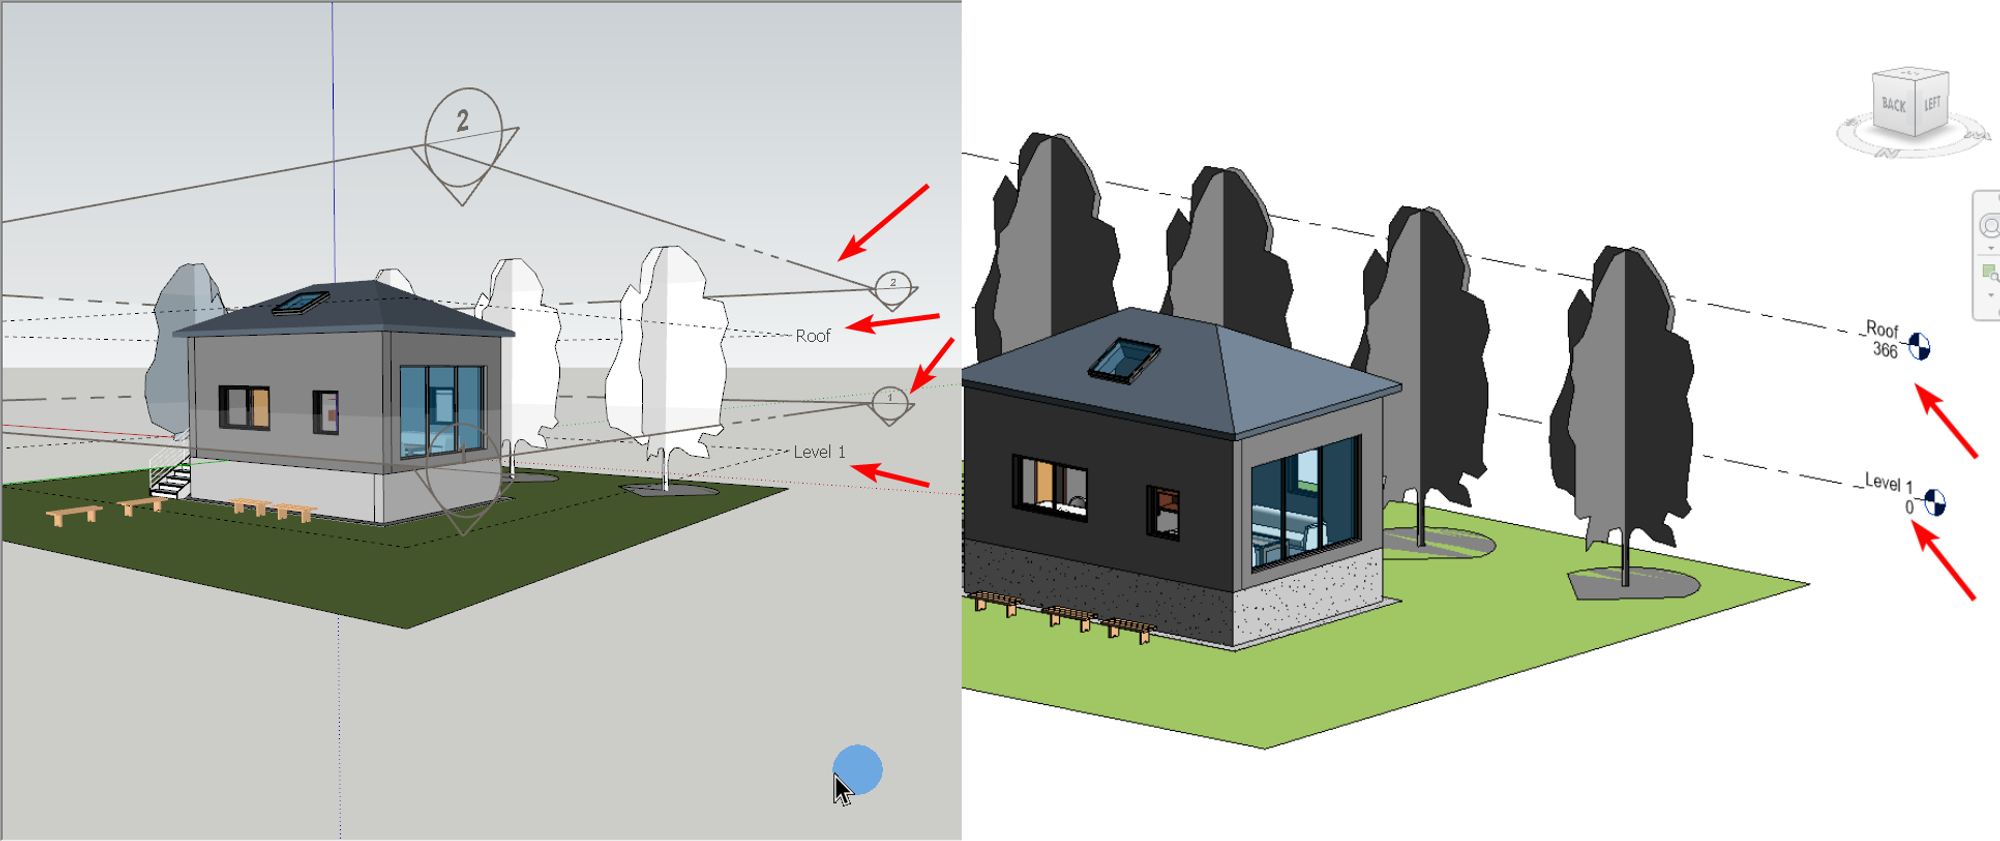
Revit Levels > SketchUp Section Planes
Revit Levels are received, and section planes are created in the corresponding elevation. This makes the experience on SketchUp easy and friendly.
Revit Materials > SketchUp Materials
Revit Materials are converted into SketchUp materials so that you don't waste time recreating them manually.
Family Types > SketchUp Components
Family Types are converted into SketchUp Components with their corresponding names. This is especially useful if you have a lot of different family types in your design.
3D Views > SketchUp Scenes
3D Views from Revit are converted into SketchUp scenes, allowing you to switch between different parts of your design easily.
Outliner > Revit-style Organisation
The Outliner is organised in a way that is similar to Revit, making it easy to navigate through your design and quickly locate different elements.

Link Between Two Applications
Speckle builds an object-level link with Revit elements. This makes it easy for you to make changes in Revit, and receive them back in SketchUp.
Improving the collaboration between Revit and SketchUp is only one click away. Try it out today to see the difference it can make in your projects.