How to transfer Revit models to Blender via Speckle
This tutorial demonstrates how to transfer your Revit BIM models into Blender using Speckle, creating an efficient workflow for architectural visualization and cross-platform collaboration.
Prerequisites
Before starting, ensure you have:
- A Speckle account
- Speckle Revit connector installed
- Speckle Blender connector installed
- Autodesk Revit installed on your computer
- Blender installed on your computer
Stage 1: Publishing from Revit to Speckle
Creating a new project
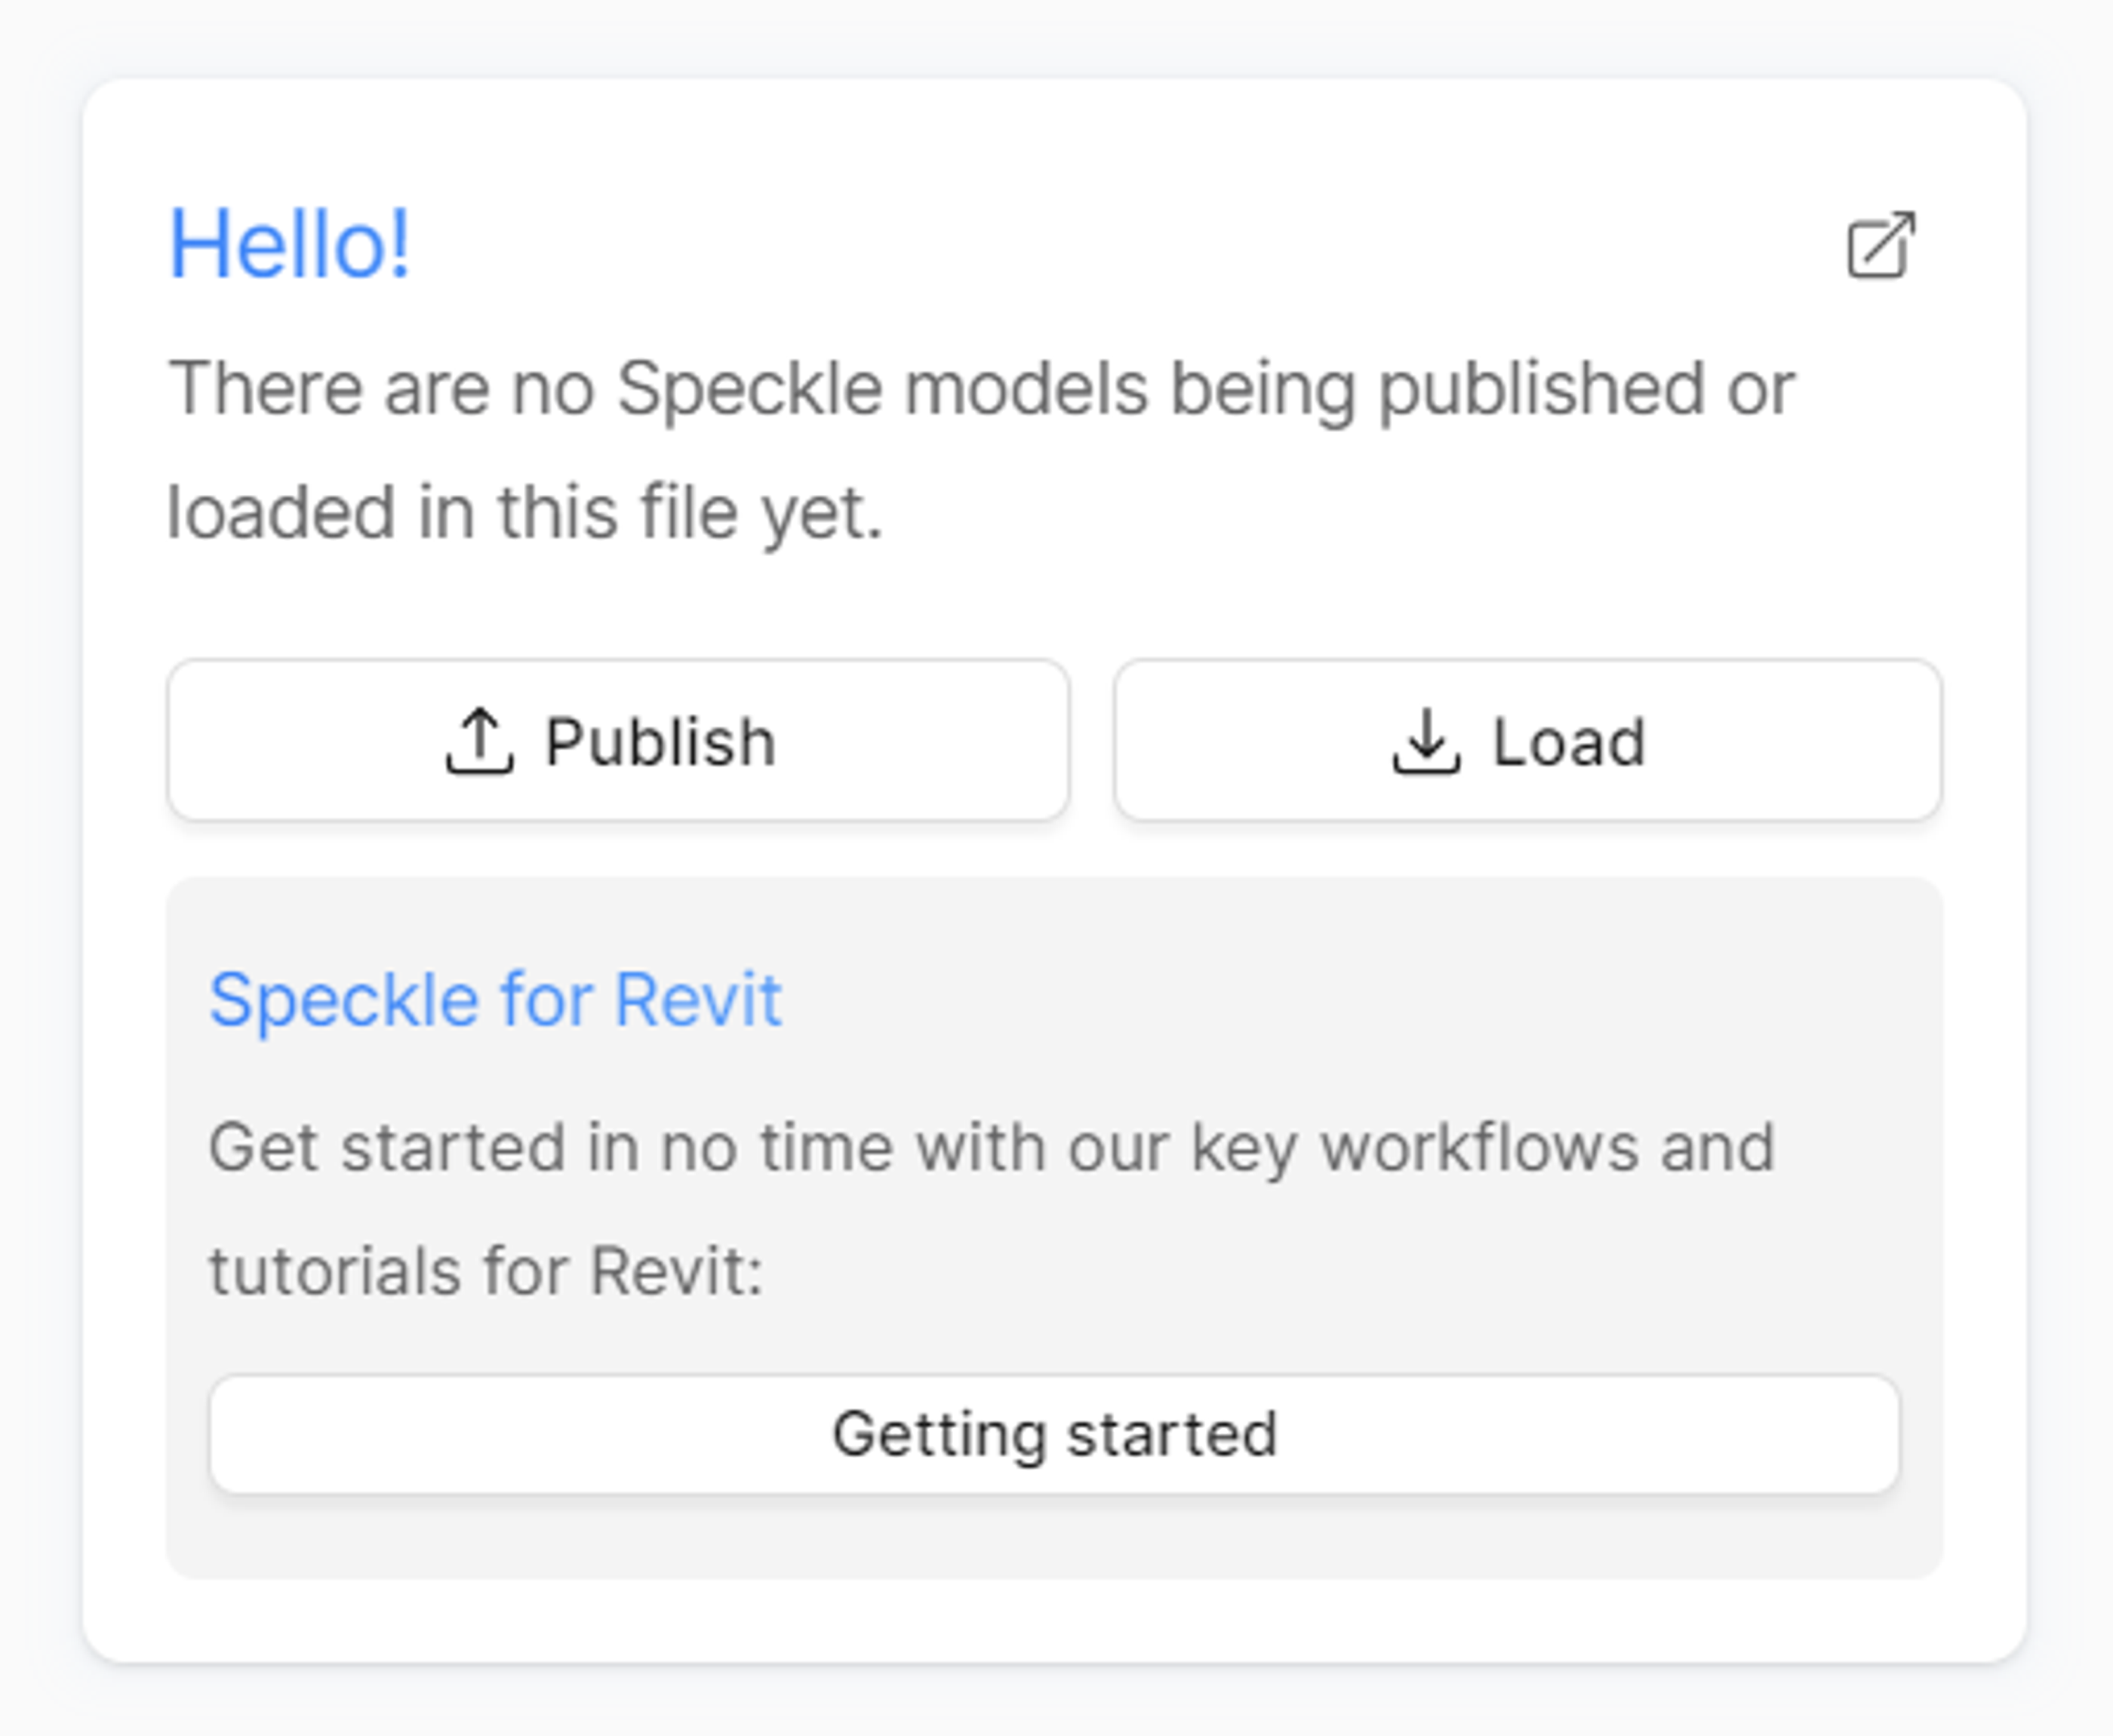
- Click the "Publish" button in the Speckle panel
- Create a new project by clicking the plus sign (+) next to "Create New Project"
- Name your project (e.g., "New Revit Project to Blender") and click "Create"
- Name your model (e.g., "Blender Model") and click "Create Blender Model"
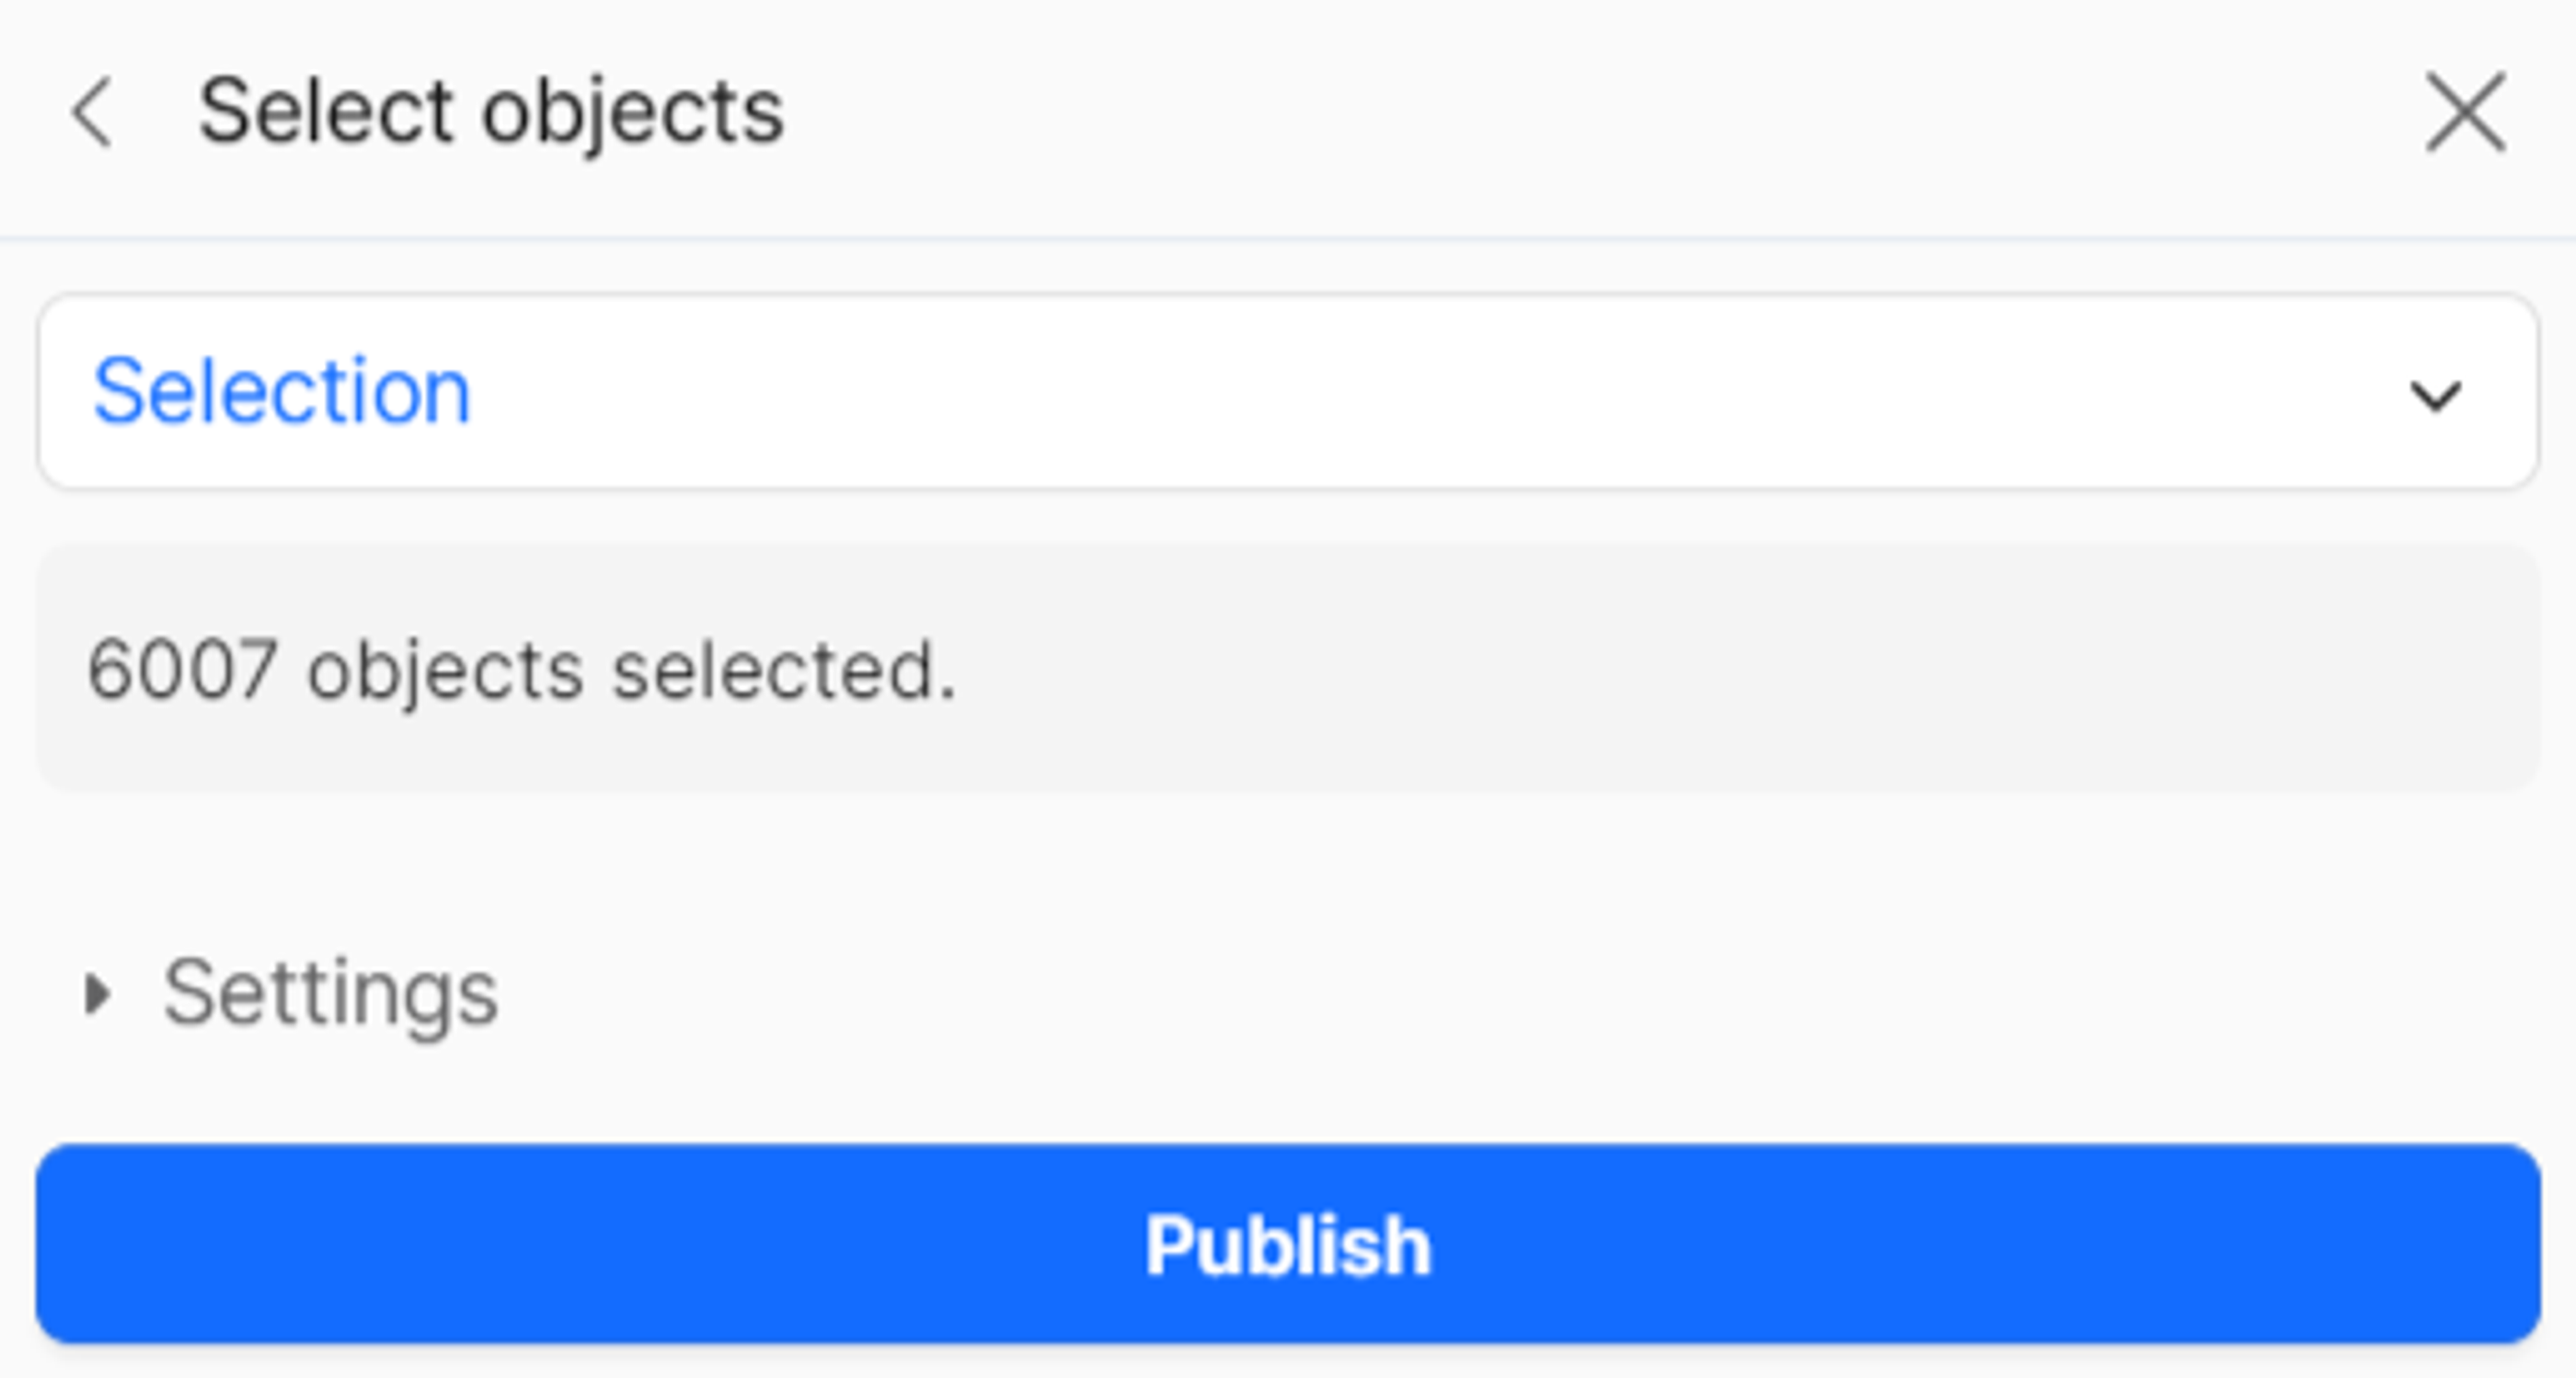
Selecting and publishing content
- Choose model elements to upload:
- Select "Everything" for a complete transfer
- Or choose specific elements for selective publishing
- Review the object count to confirm your selection
- Click "Publish" to upload your model to Speckle
- Wait for the conversion and upload to complete
Viewing your published model
- Click "View" when the upload completes to open the Speckle web viewer
- Review your model in the browser-based 3D viewer
- Share with collaborators using the web link for comments and feedback
- Note the organizational structure in the Scene Explorer (typically by building levels)
Stage 2: Loading into Blender
Preparing Blender
- Open Blender and start with a clean workspace
- Delete default objects (cube, camera, lamp) by pressing A to select all, then Delete
- Open the N-panel by pressing N to access the Speckle tools

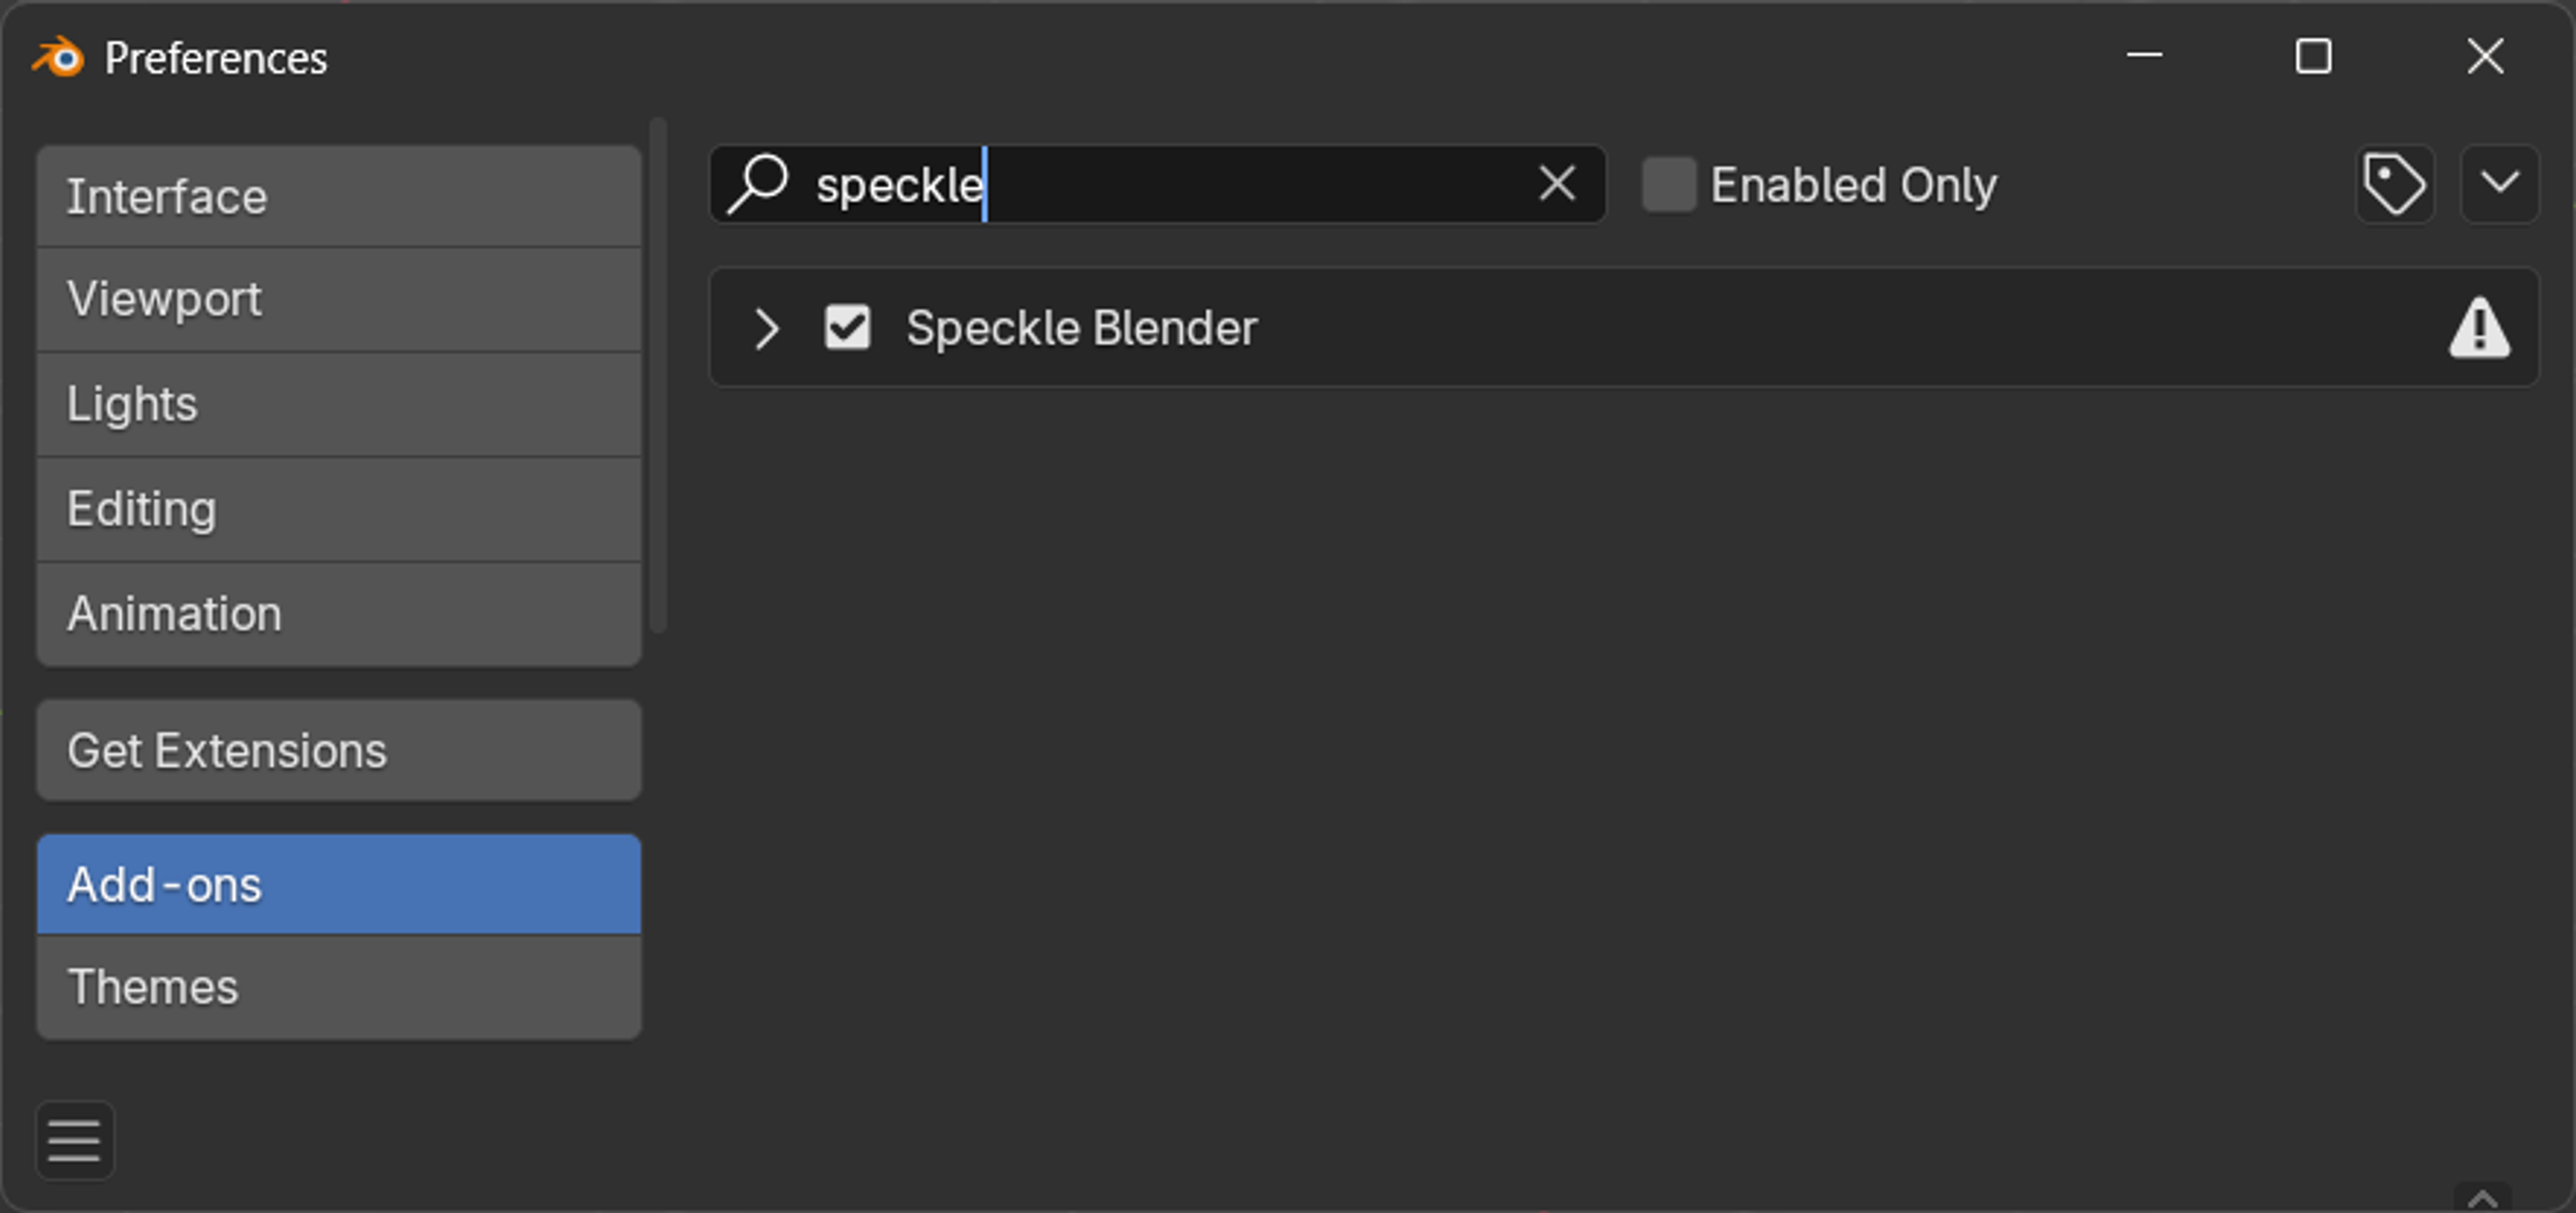
Enabling the Speckle connector
If Speckle isn't visible in the N-panel:
- Go to Edit > Preferences
- Navigate to Add-ons
- Search for "Speckle"
- Check the box to enable the Speckle Blender add-on
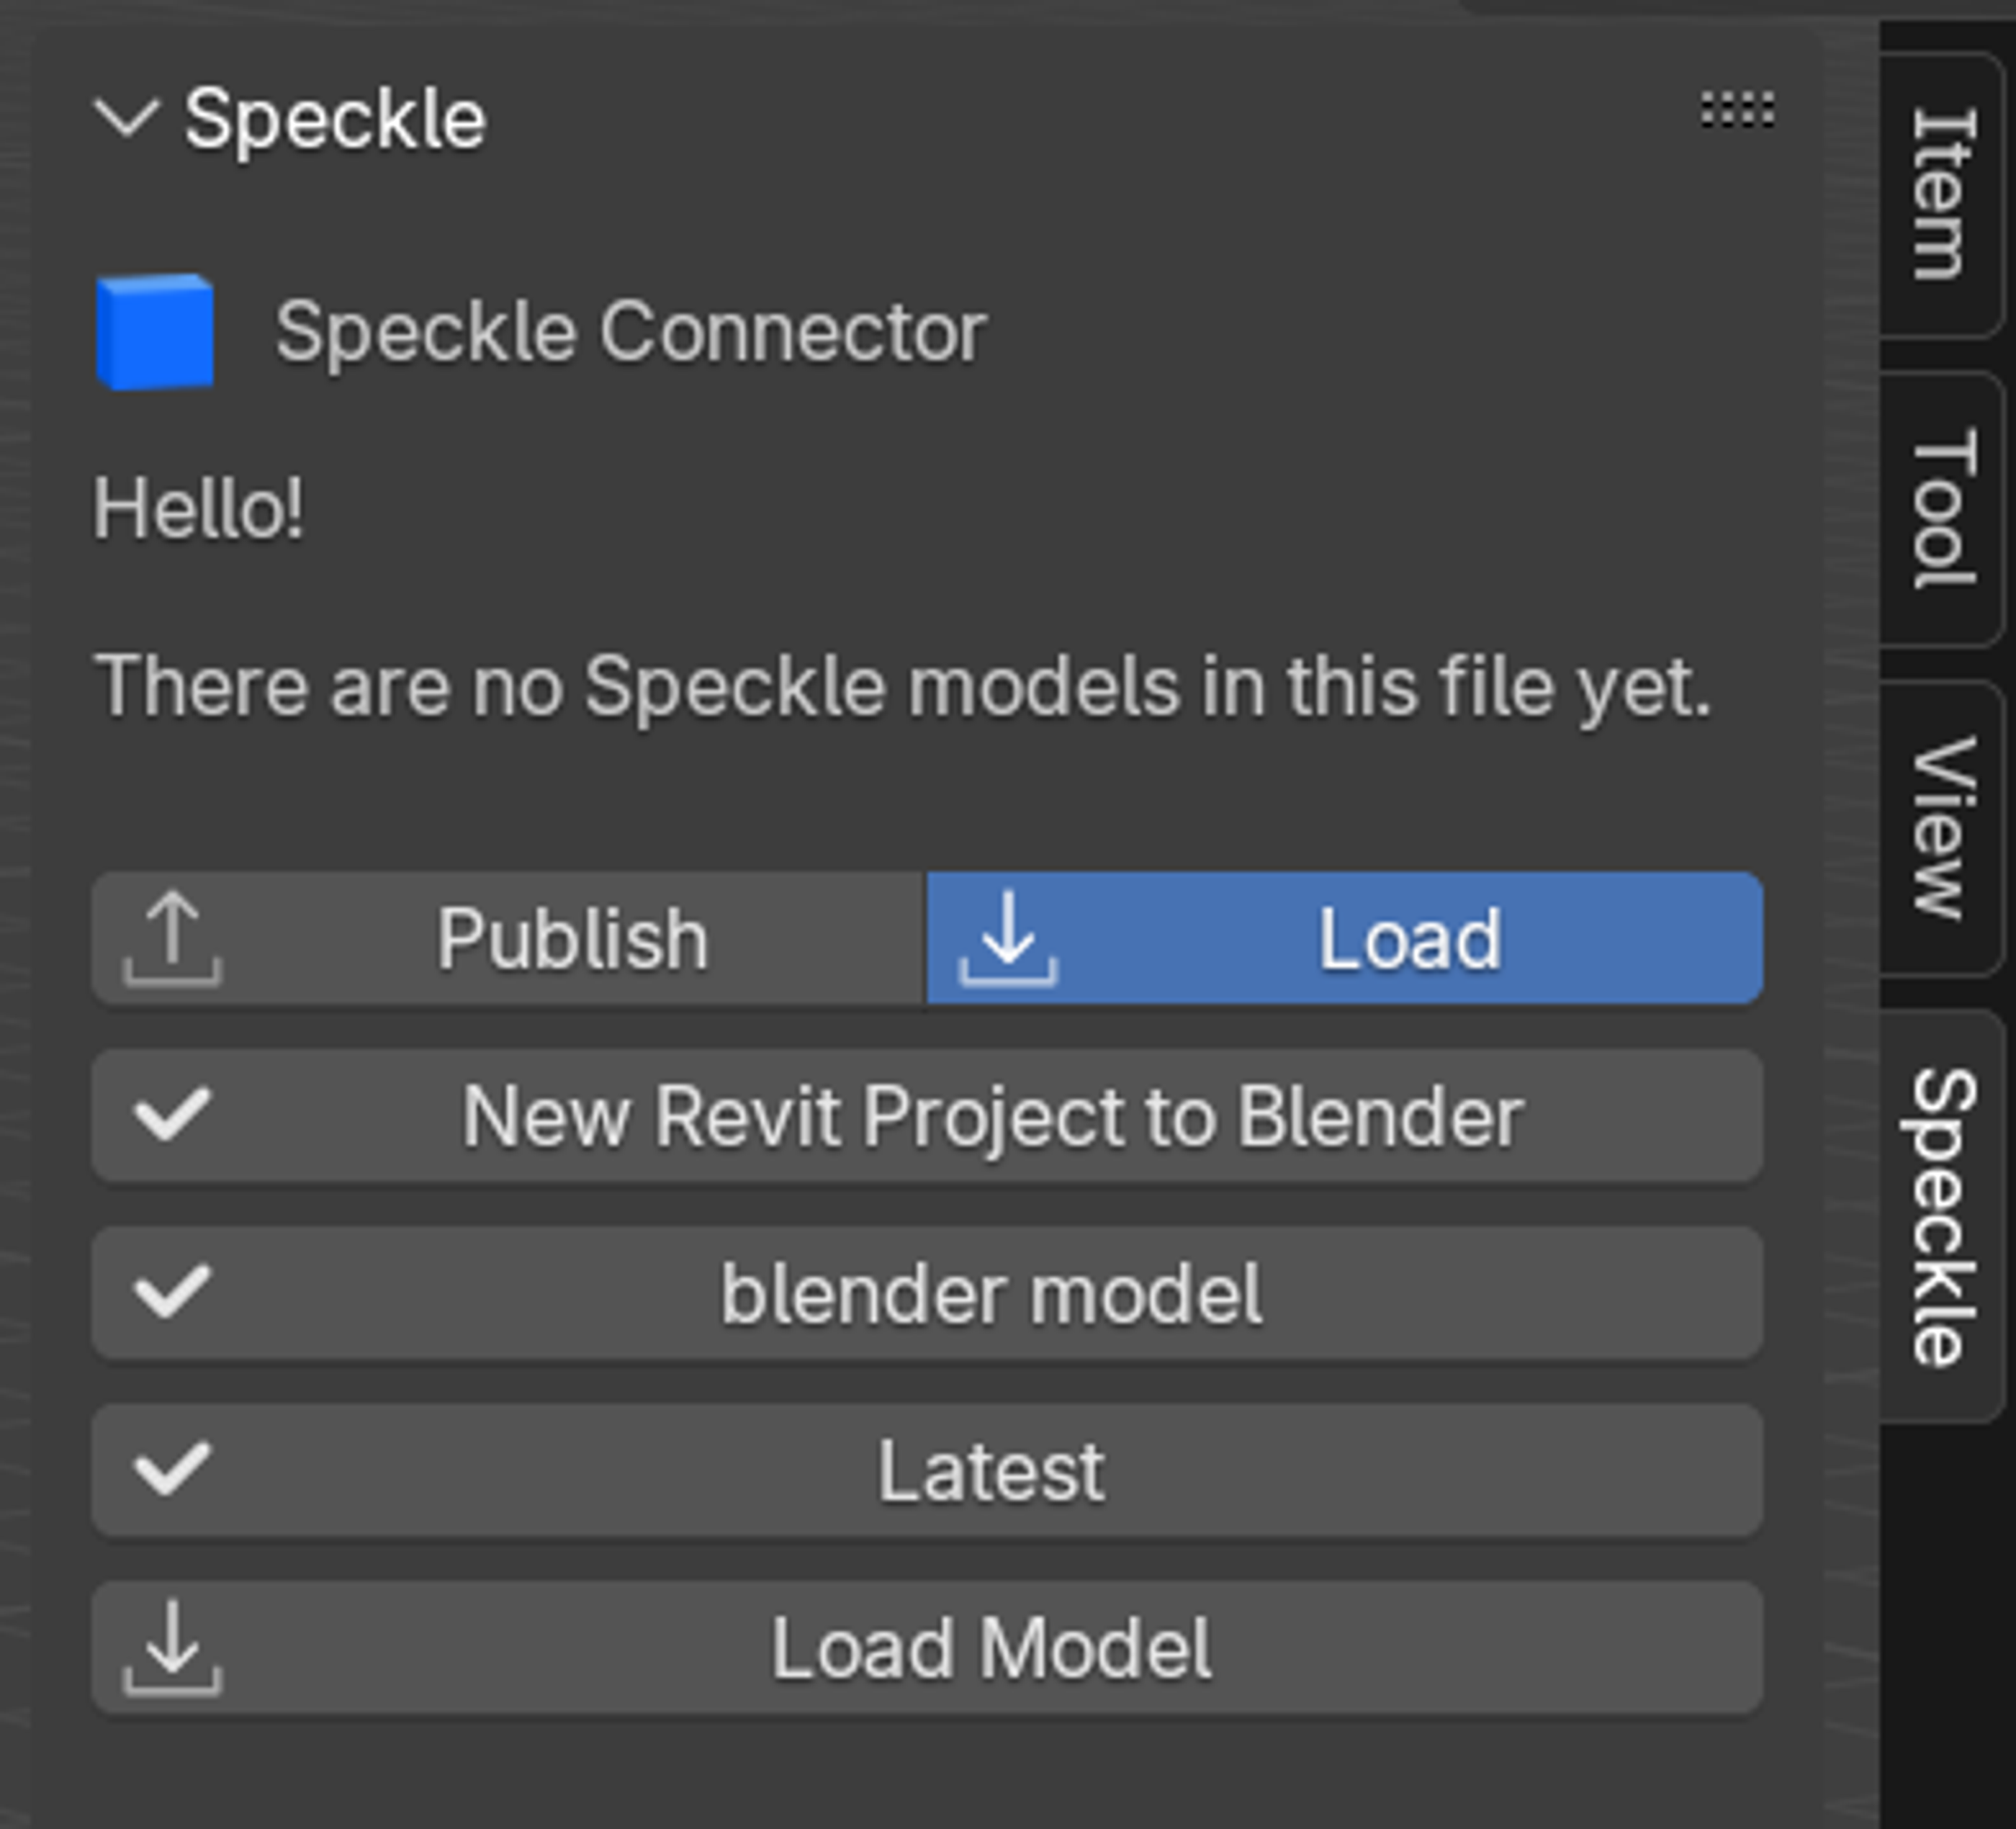
Loading your Speckle model
- Click the "Load" button in the Speckle panel
- Select your project by clicking the project selection button
- Choose your workspace and navigate to your project (e.g., "New Revit Project to Blender")
- Select your model (e.g., "Blender Model") and click OK
- Choose a version - default is latest, or select a specific version
- Click OK to proceed to import options
Understanding import options
You'll see two import methods:
Collection instances
- Best for: Clean organization and performance
- Pros: Cleaner hierarchy
- Cons: Harder to edit individual instances
- Use when: You won't be modifying the imported geometry
Linked duplicates
- Best for: Editable workflows
- Pros: Easy to edit, modifications affect all linked copies
- Cons: Can be messy
- Use when: You plan to modify the imported geometry
Choose your preferred method and click OK to complete the import.
Stage 3: Working with imported models
Understanding model organization
Your imported model will maintain the organizational structure from Revit:
- Models are organized by building levels (matching the Revit structure)
- Scene Explorer hierarchy mirrors the Speckle web viewer organization
Material preservation
One of Speckle's key features is automatic material preservation:
- Original materials from Revit are automatically imported
- Material properties are maintained during the transfer
- Ready for further enhancement with Blender's advanced material tools
Updating model versions
- Click the version button in the Speckle panel
- Select a newer version when available
- Click OK to update the model
- Your material overrides remain intact so long as the geometry has not changed
Conclusion
The Revit-to-Blender workflow via Speckle creates a powerful bridge between BIM authoring and high-end visualization. By preserving materials, maintaining organizational structure, and offering persistent material overrides, this workflow enables efficient archviz pipelines that can adapt to evolving designs.
The key advantages include maintained design coordination, efficient update workflows, and the ability to create sophisticated visualizations without losing progress when designs change. This makes it an invaluable tool for architectural practices that need to maintain both technical accuracy and visual quality throughout the design process.