

Prefer watching? We got you covered👇:
Prerequisites
In this tutorial, we assume you have:
- Speckle Account (you can get one for free🎉 at https://speckle.xyz/)
- 🔵 Revit Connector (install it via Manager)
- 🟢 Excel Connector (installed from Microsoft Add-in Store)
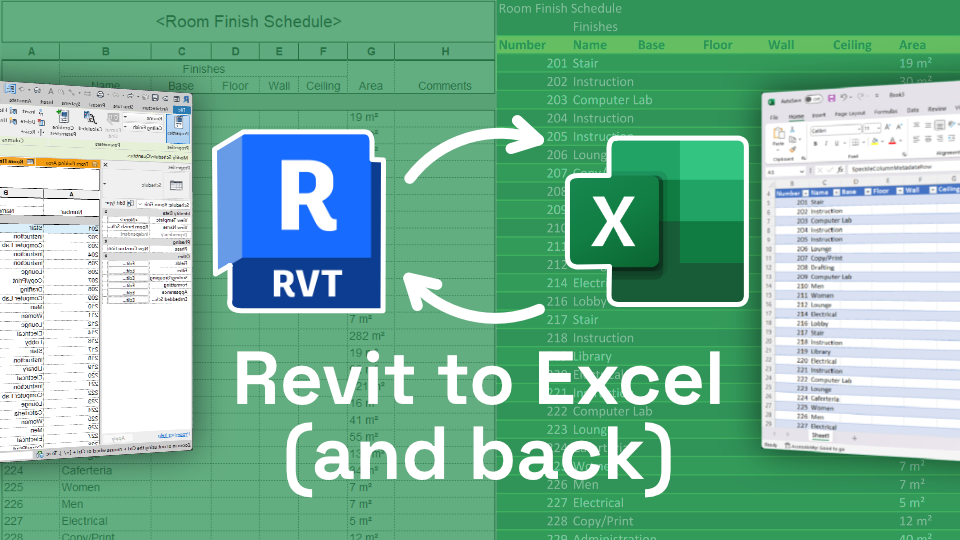
Sending Schedule from Revit
- Launch your Speckle Connector inside Revit.
- Create a new project (or select an existing project) and select a model you want to send your data to.
- Expand the Selection menu within the Connector interface.
- From the dropdown menu, select the Schedule option.
- Choose the Revit schedule that you want to send.Click on the Send button.
And that’s how you send your schedule data from Revit. Now let’s look at the receiving end in Excel.
Working with the Schedule in Excel
- Launch your Speckle connector for Excel.
- Select the same project and the model that you used for sending the schedule.
- Click on the Receive button to retrieve the schedule data.
Simple, right? Your schedule is now inside Excel. Let’s do some modifications now.
Syncing it Back
After you are done filling empty cells with values, let’s sync those back into Revit.
- Select the entire table.
- Switch to send mode by clicking on the arrow icon located in the top right corner.
- Click on three dots and select Set Range to define the range of data you want to send.
- Then click on Send to sync the modified data back.
Receiving back in Revit
- Switch to the receive tab in the Revit Connector.
- Click on the Receive button to import the updated data.
- Check the parameter values in Revit, and you will observe that the values filled in Excel have been successfully updated.
Conclusion
Congratulations! You have successfully updated Revit elements data outside of Revit, in Excel. This is a powerful workflow, especially if you’re looking to cost experts, fabricators, or suppliers, allowing them to fill in missing data, update parameters, or perform analyses in a familiar environment like Excel.
You can also join our next Community StandUp to ask questions and see it in action!