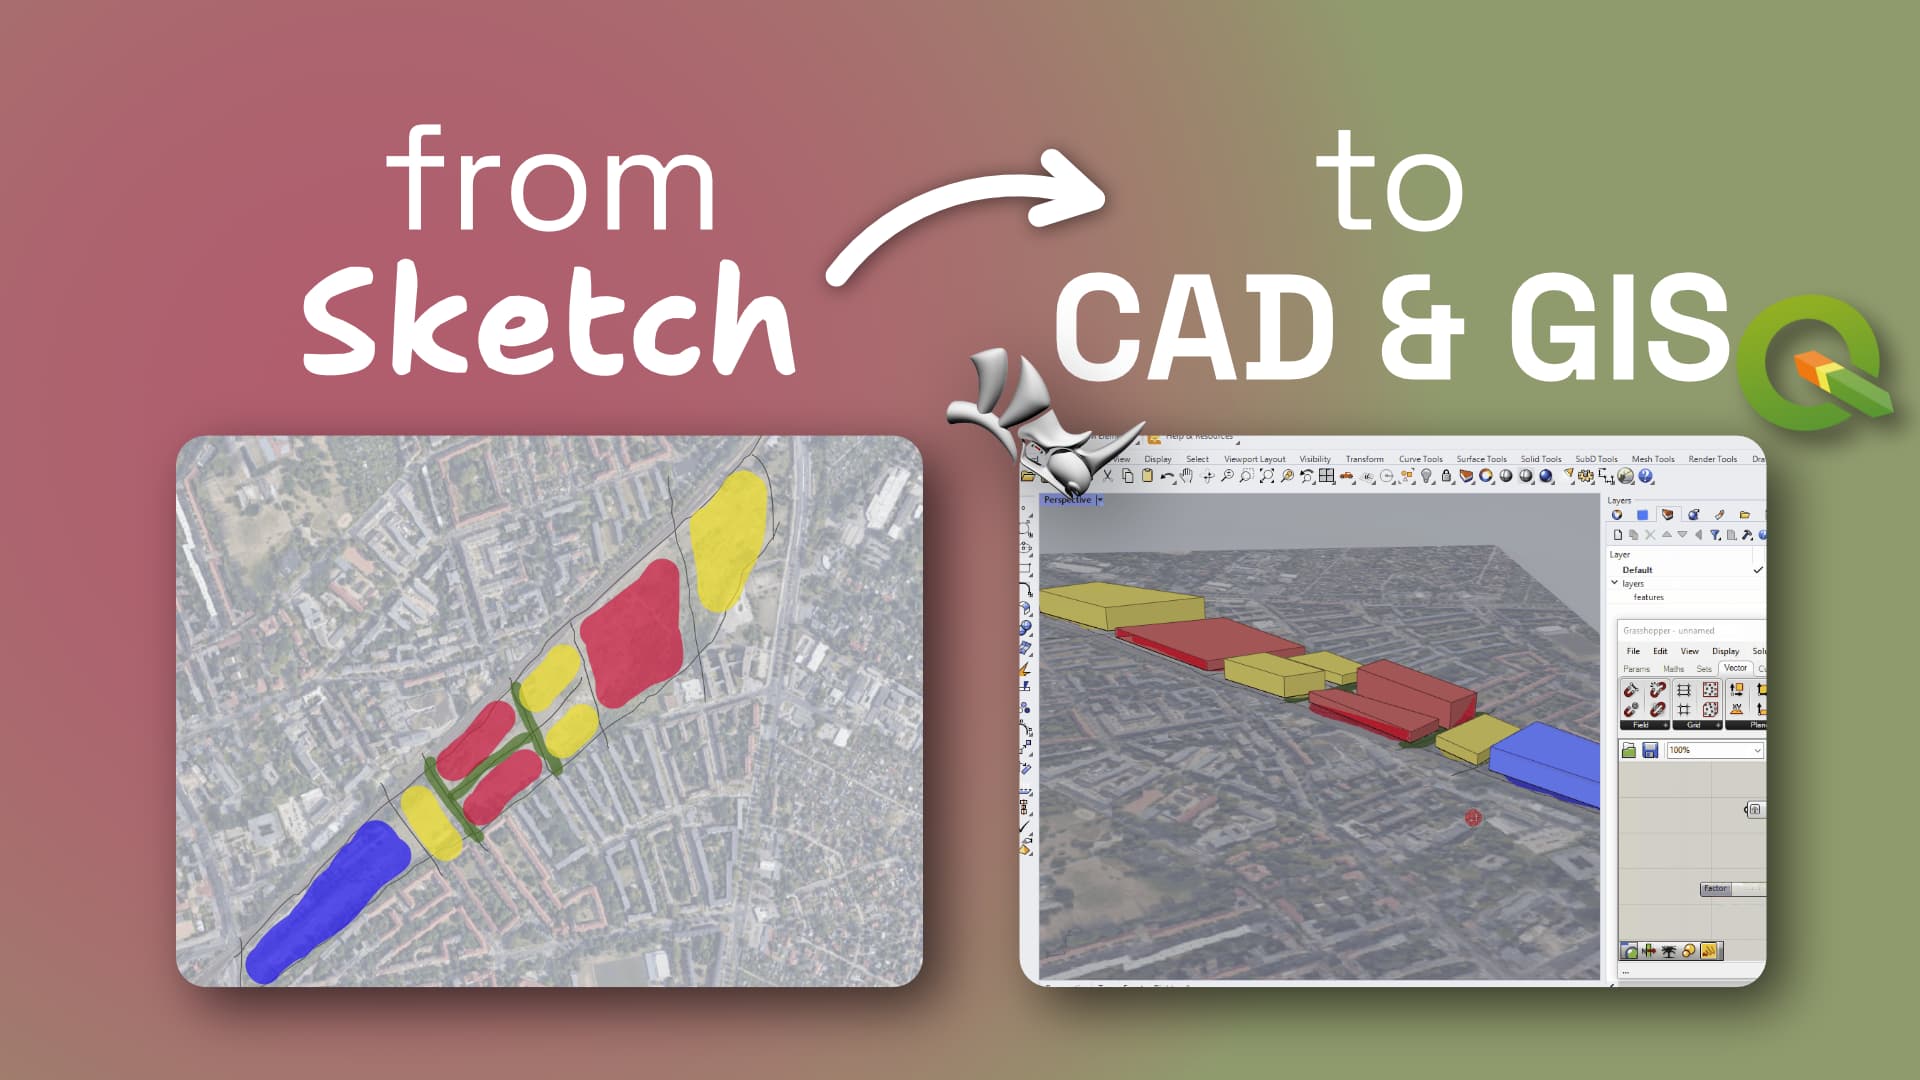

In this tutorial, we will show you how to place your hand-drawn base map into Rhino (or any other software) in real-world units and the correct location. We will be using QGIS and Speckle to do the magic.
Get Your Sketch Ready
Get a Base Map in QGIS
If you don’t have one, just open Browser Panel→XYZ Tiles, and drag selected Basemap to the Layers panel.
Go to Layer → Georeferencer → Open Raster
Navigate to your image.
Add Points To The image and Locate Real-World Coordinates
You can either copy the coordinates or point them on your canvas with the help of a base map.
Check the Settings → Transformation Settings
Remove the “Set target resolution” checkbox unless you need it. It might cause unnecessary errors.
“Start Georeferencing”
It will add an image as a new georeferenced layer to your project.
Use The “Set as a project center” Function In Speckle
This is to import the data later in your local CAD reference system. To do this, select the location on the canvas corresponding to your Rhino/Revit/other software survey point or (0,0) point. Right-click on that location→ Copy Coordinates. Choose the ones in “EPSG:4326 - WGS 84”. Paste them in the same order as Lat, Lon values in Speckle plugin, and click “Set as a Project Center”. It’s done!
Add An Optional Message
You can now send the data to your Speckle Stream.
Receive The Data In Rhino
Set the viewport to Shaded mode to see the colors.

Keep Sketching!
With your hand drawings or any other images now matching the scale and location. Enjoy!
We hope you found this useful! Feel free to join our Community Forum for more...