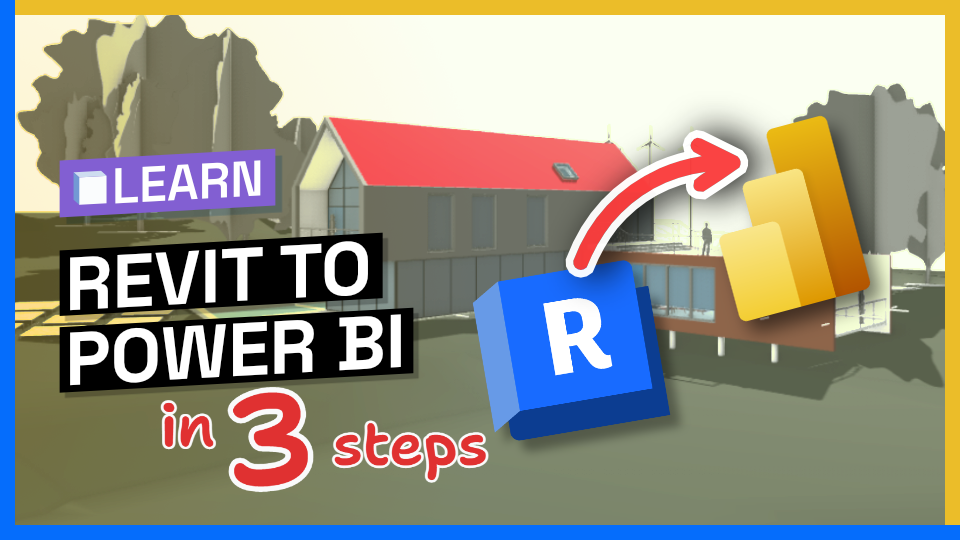

Video Tutorial
Prerequisites
::: tip
In this tutorial, we assume you have:
- Speckle Account (you can get one for free🎉 at https://speckle.xyz/)
- 🔵 Revit Connector (install it via Manager)
- 🟡 Power BI Connector (installed from Github)
- 👁️ 3D Viewer Visual for Power BI (installed from Github)
:::
Step 1: Send from Revit
Let’s start with sending data from Revit.
- Open the Speckle Connector in Revit
- Choose an existing project or create a new one.
- Click on “Send” to send everything to Speckleverse.
Step 2: Receive Data in Power BI
Receiving the data you sent from Revit in Power BI is pretty simple.
- Copy the URL of the sent model from the Speckle web application.
- Open Power BI and navigate to "Get Data."
- Search for "Speckle" in the Data dialog.
- Choose the Speckle connector (not the one with [Structured] tag) and click "Connect."
- Paste the copied URL into the connector's prompt and click "OK."
- Load the received data into Power BI's query editor.
Step 3: View Model in 3D
Now we have received data from Speckle, let’s view it in 3D.
- Add a Speckle 3D Viewer Visual to your Power BI dashboard.
- With the Speckle 3D Viewer Visual added, you can now configure the input fields to display your Speckle data.
- Drag the "Stream URL" column from your data into the "
Stream URL" input field. - Drag the "Commit Object ID" column from your data into the "
Commit Object ID" input field. - Drag the "Object ID" column from your data into the "
Object ID" input field. - Once all inputs are added, 3D Viewer Visual will load the objects into the scene.
Conclusion
Congratulations! By following these three simple steps, you have successfully integrated your Revit data into Power BI and use it for data visualization and reporting. Send your Revit data to Speckle, receive it in Power BI, and visualize the model in 3D using Speckle's 3D Viewer Visual.
Try this tutorial, let us know what you think!